

Hi everyone
While working on new Amiga projects in Void, I thought it would be fun to try out AMOS 3D with AMOS Pro. AMOS is a language based on Basic, but with a great interface, advanced commands and various editors for sprites and such. I’ve used it for years and find it great for making everything from small demos to music packs.
The installation, however, did not go smoothly. It turns out that the installation disk only supports the old version of AMOS, not AMOS Pro. Fortunately, there is a way to get it installed manually. Thought I’d share it here in case someone else encountered this problem.
Installation of AMOS 3D on AMOS Pro
- Take a backup of your AMOSPro_Interpreter_Config (this file is located in the S: directory on your Workbench partition. If all fails, you can revert to the backup.
- Copy the file AMOSPro_3d.Lib from the Extensions drawer on Productivity Disk 2 to your APSystem drawer.
- Copy the files 3d.lib and c3d.lib from AMOS 3D Disk 1 (AMOS_3D:Files/AMOS_System) to your APSystem drawer. These might only be needed for AMOS Basic, but I copied them anyway just to be sure.
- Run AMOS Pro
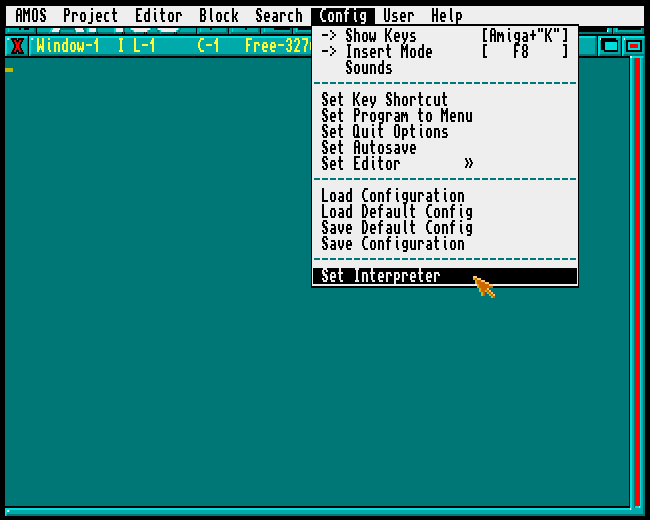
- Choose Config from the drop down menu on top and choose Set Interpreter.
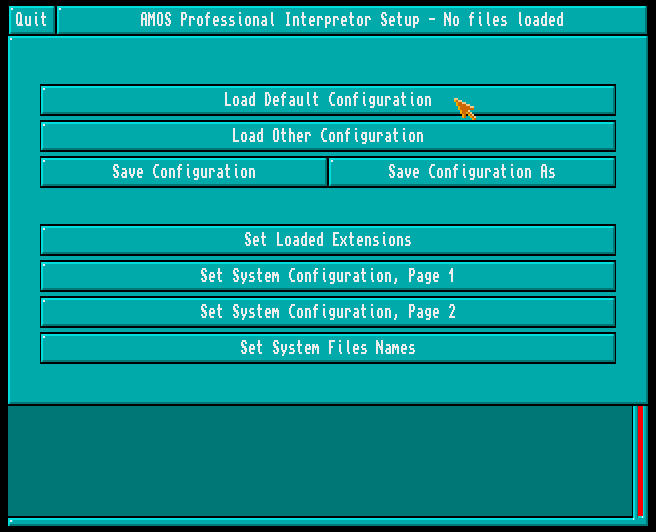
Screenshot by Old School Game Blog - Load your configuration. Default is your current one, so you can load this.
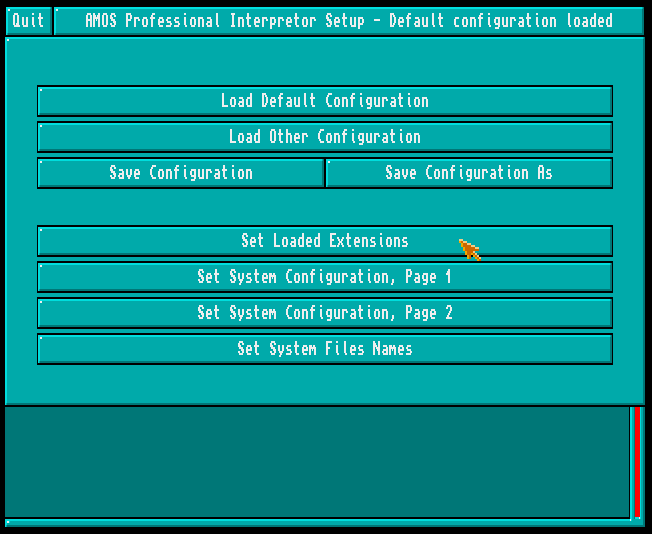
Screenshot by Old School Game Blog 7. Choose Set Loaded Extensions.
Screenshot by Old School Game Blog
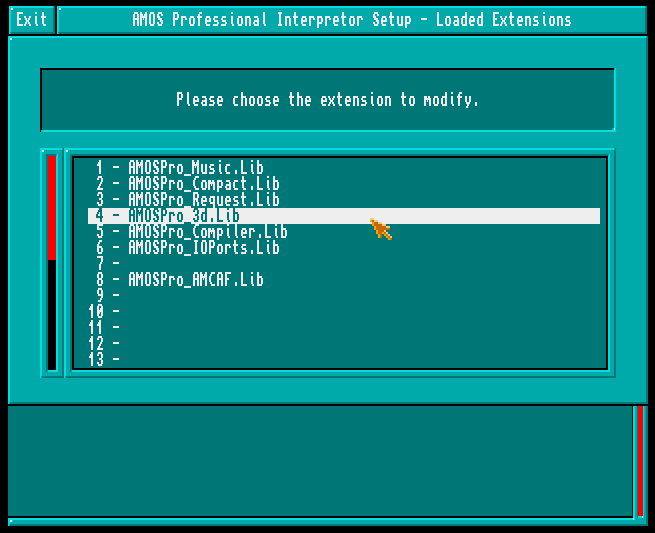
8. Select slot number 4 (which is empty on your screen). Here you must type in the exact name of the file and it is case sensitive. It should look like below though. Then select OK and Exit.
9. Save configuration, read the on-screen message and exit AMOS Pro.
10. Start AMOS Pro and selected About Loaded Extensions from the drop down menu at the top of the screen.
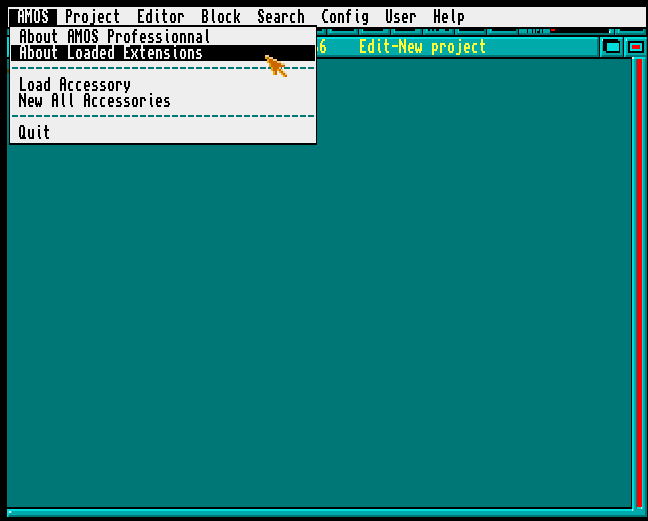
11. Browse through the installed extensions. Extension 4 should say something like on the picture below.
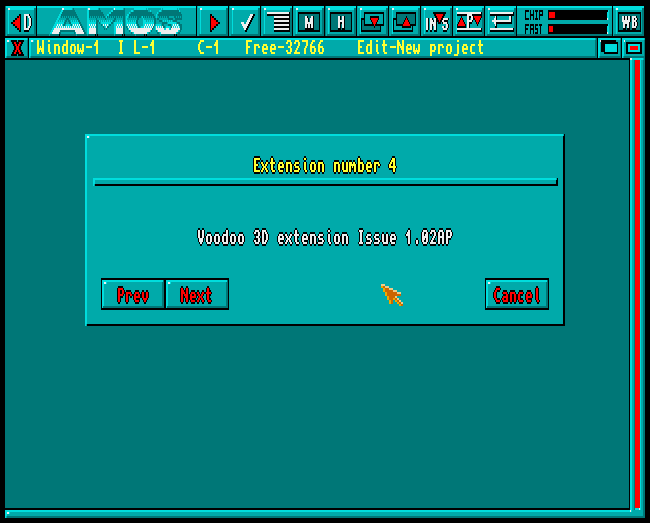
Now AMOS 3D is installed and you can start using it right away. There are plenty of examples on the AMOS 3D disks to get you started. 🙂
Have fun and happy coding!

[…] was 2019 and a good way to start the year was apparantly to write about “How to Install AMOS 3D on AMOS Pro”. It is a good thing I did, as I have now forgotten how to do this. I mostly use AMOS Pro by itself […]
LikeLike