
Hi everyone,
Thanks for visiting my blog. 🙂 In this post we’ll have a look at my new A1200NG, a replacement board for the Amiga 1200.
About the A1200NG
Some of you may remember that I published a review of the A600GS in December 2024. I’ve been pleased with this little computer and have used it for everything from productivity to gaming.

When AmigaKit came out with the news that they were going to release a replacement board for the Amiga 1200 called A1200NG, I was intrigued. Since I already had an A600GS, I was on the fence for a while.
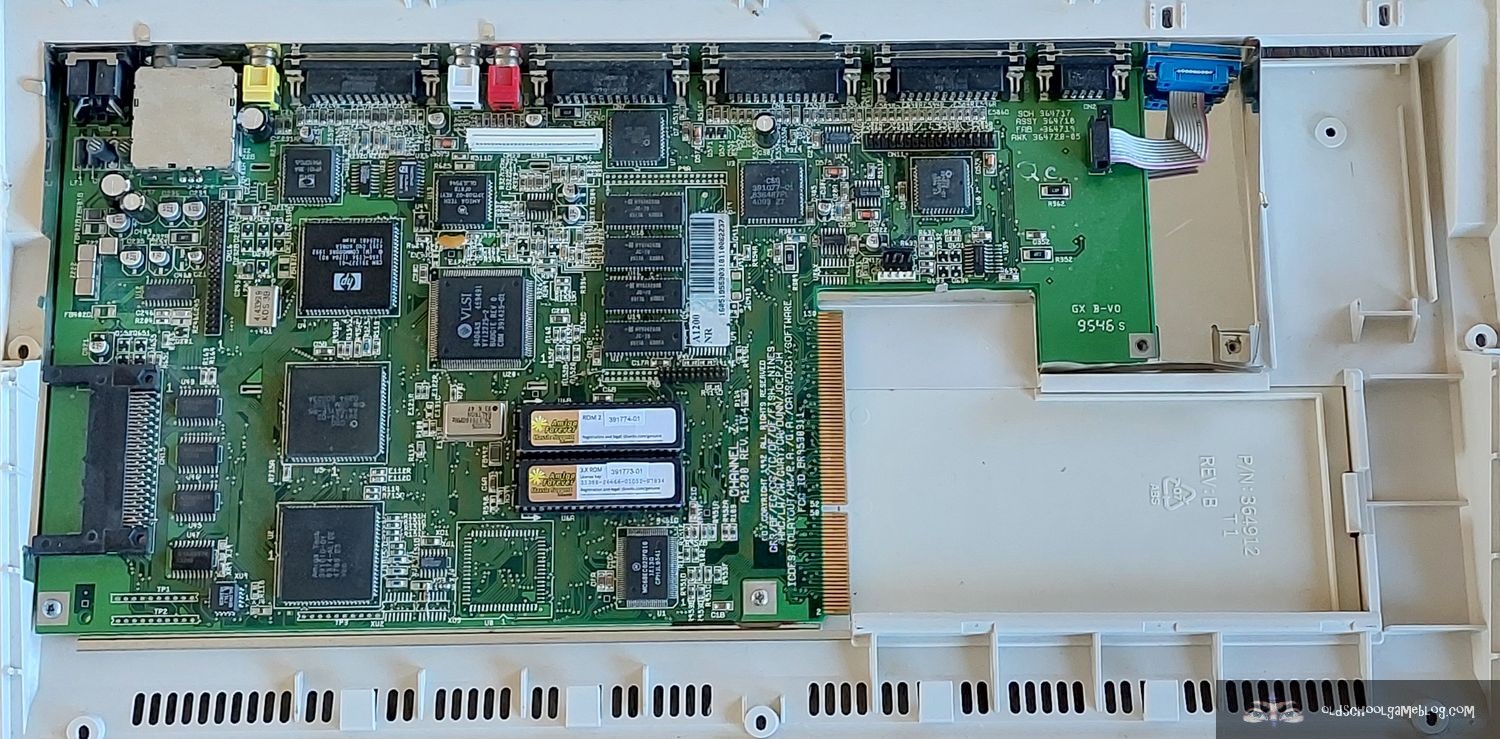
In the meantime, my original Amiga 1200, which I bought decades ago, started to get more and more unreliable. In its last days, it was a gamble whether it would turn on or not. I then decided to jump on the pre-order train and get the A1200NG to replace the motherboard.
I’m most likely getting the original board repaired in the future, but for the coming years, it is good to have something new and stable that will (hopefully) work without problems for a long time.
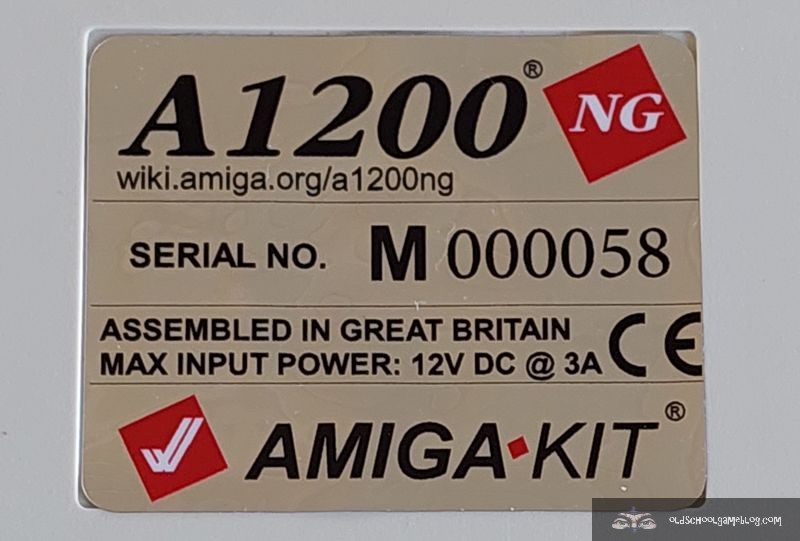
The price, including shipping for the pre-order, was EUR 188.
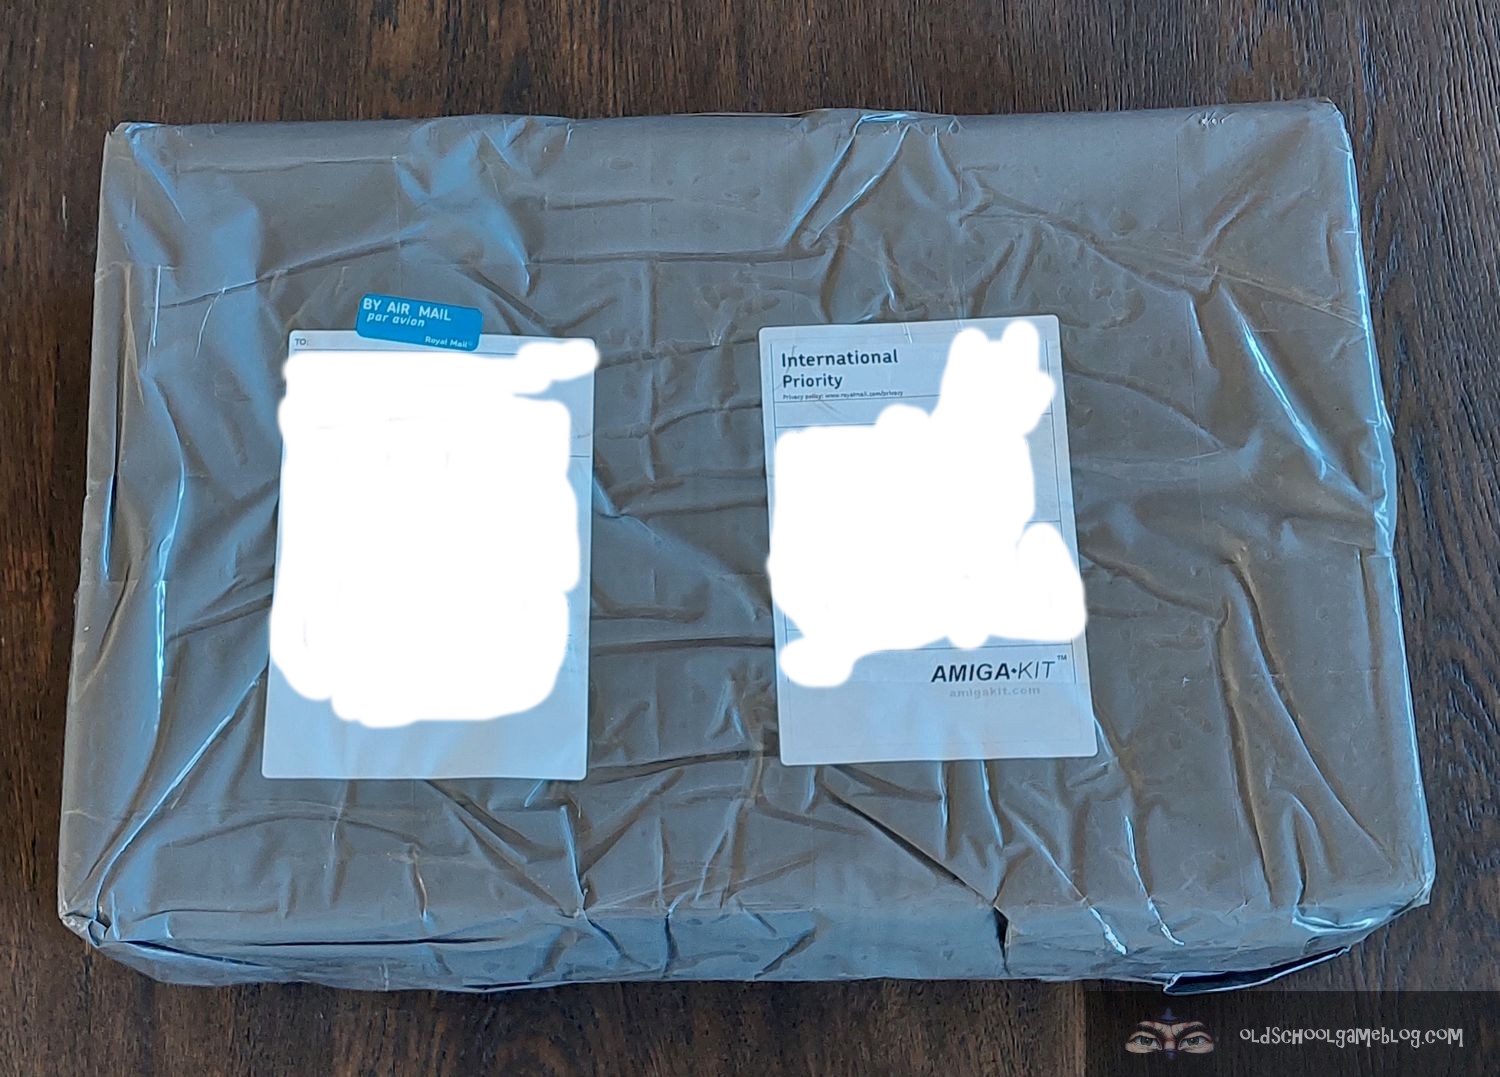
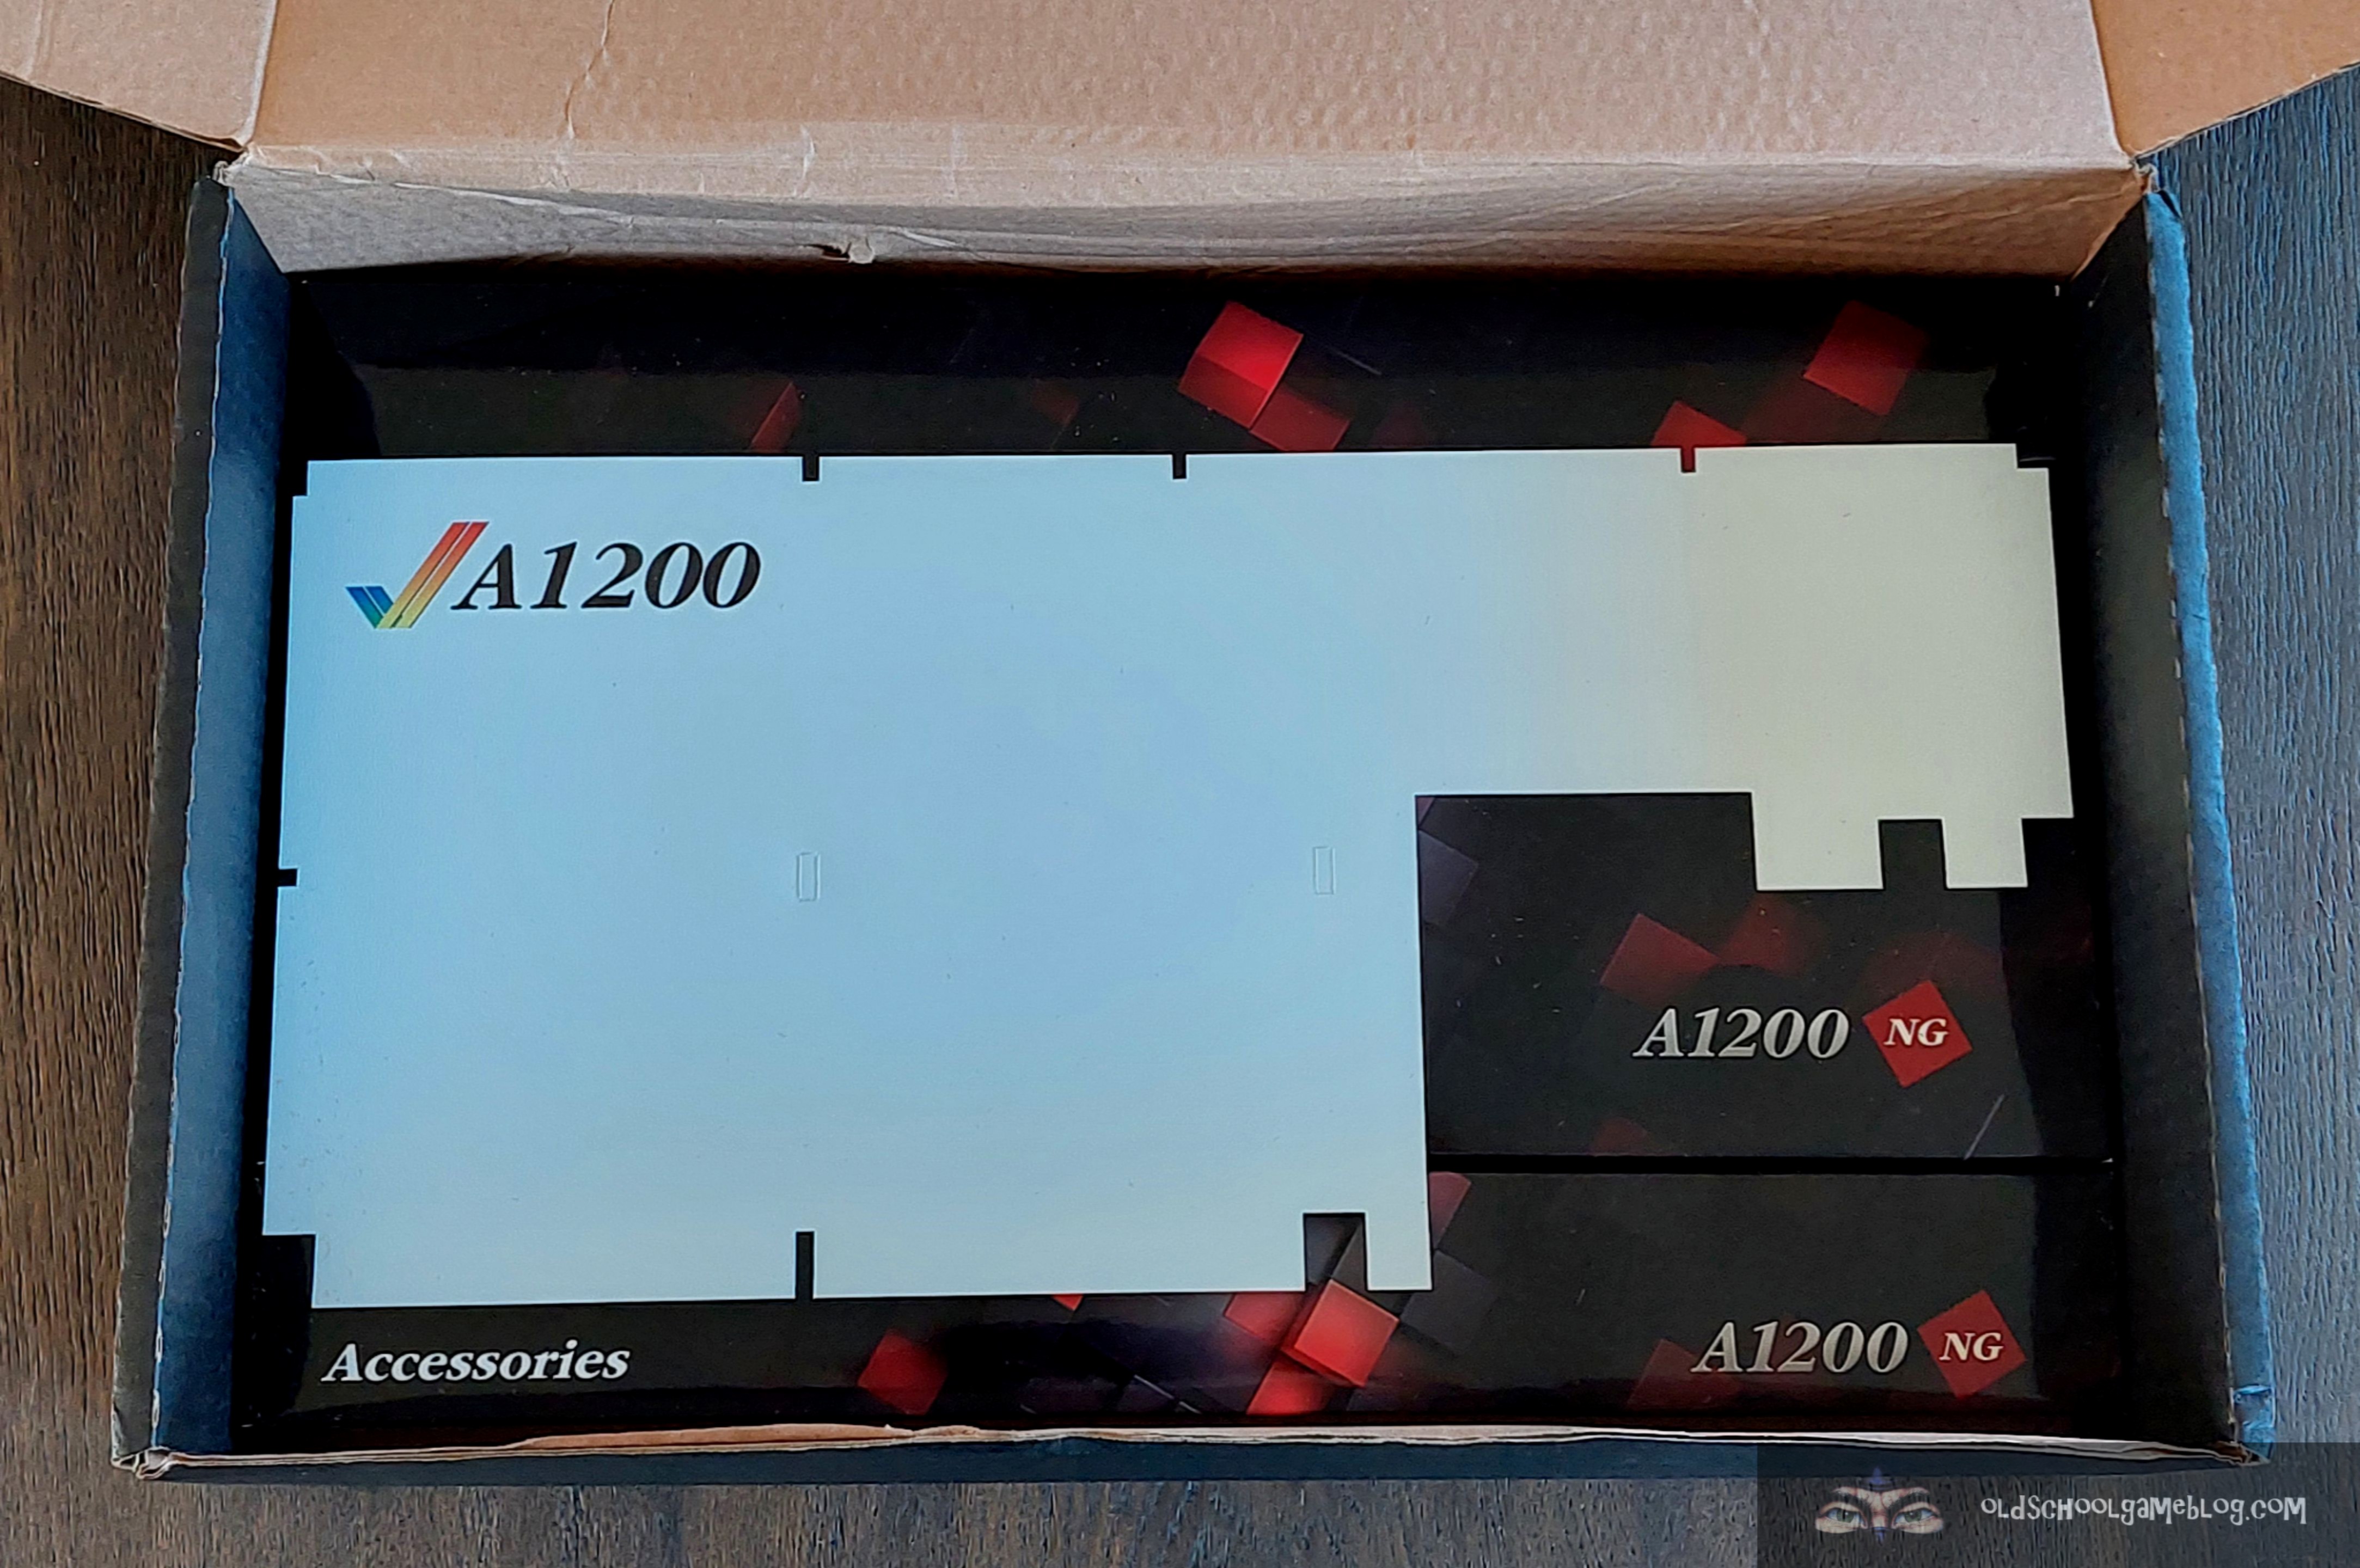
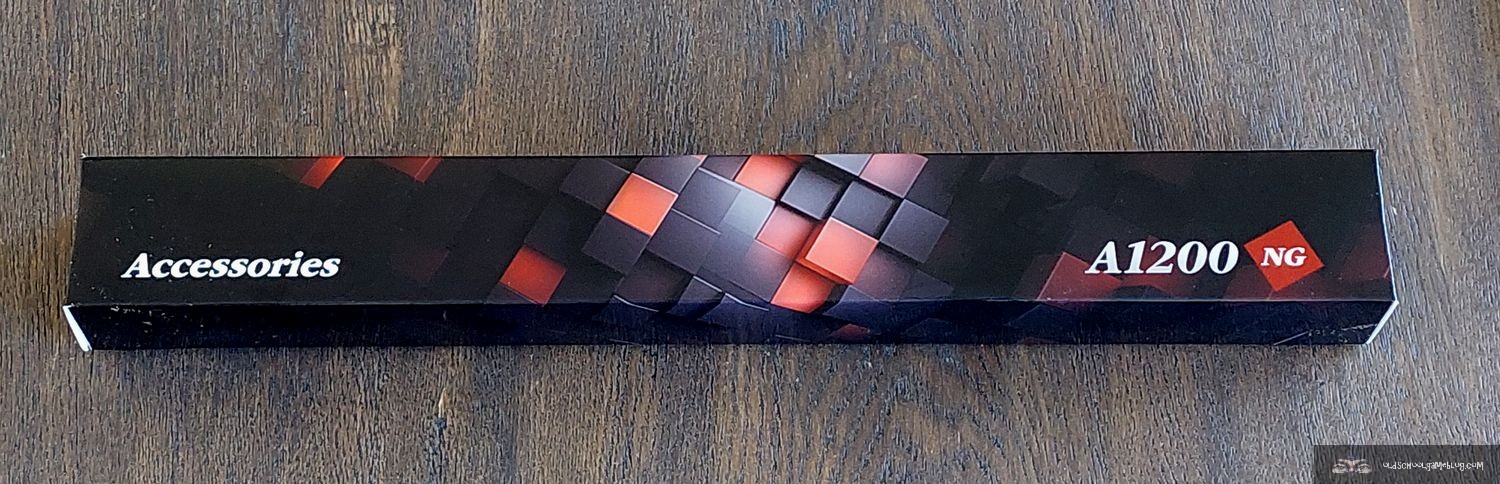
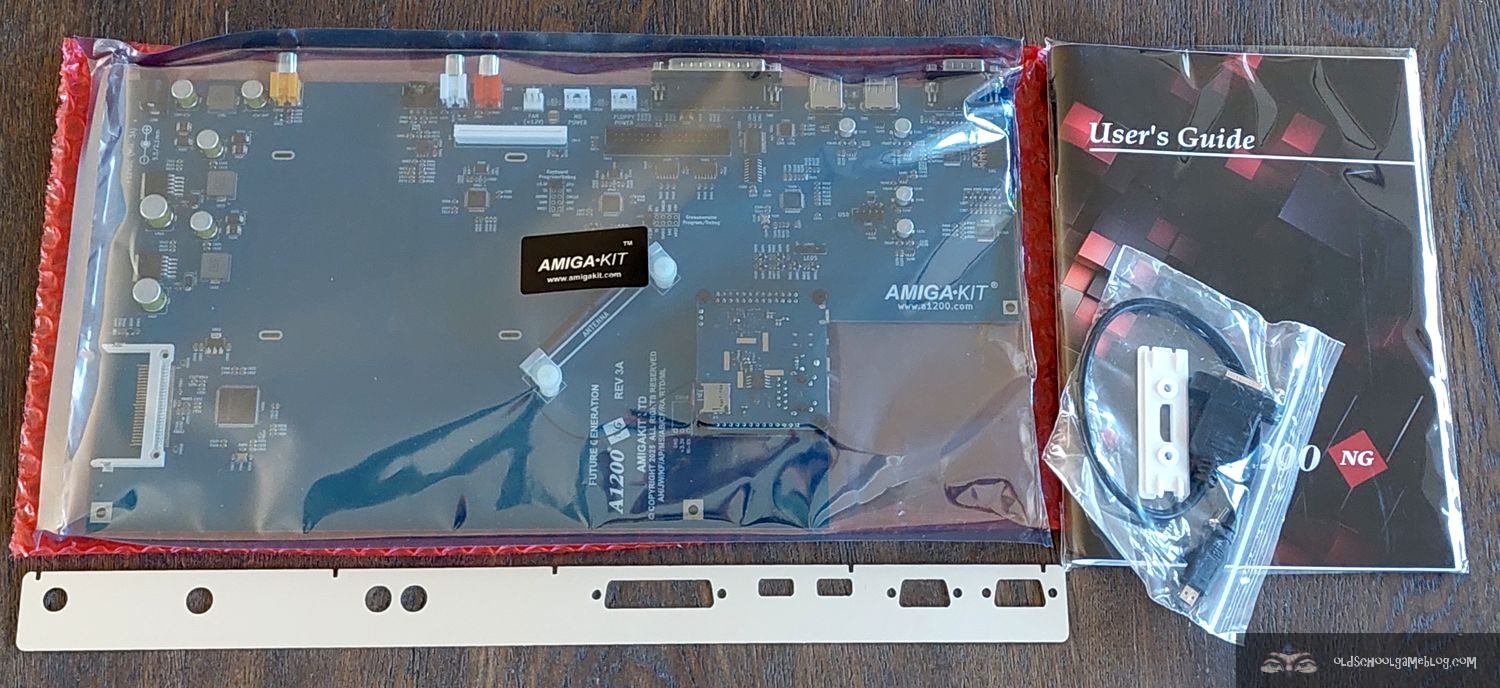
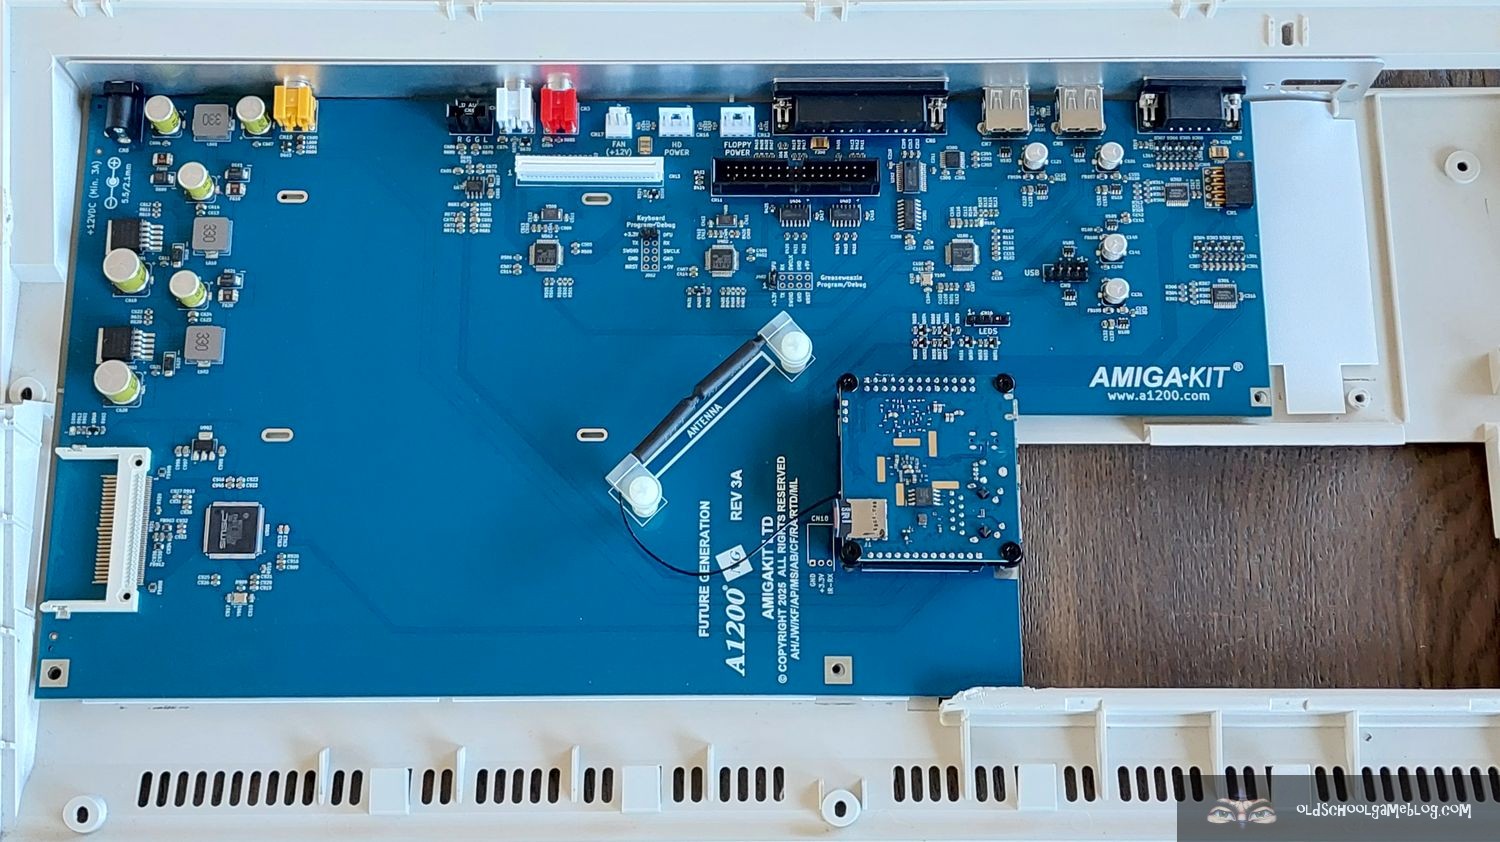
Fast forward to May 2025, I received a message saying that a package had arrived at the local Post i butikk (post office in a grocery store). It was from AmigaKit and contained the brand new A1200NG motherboard, as well as accessories (set for connecting the original floppy disk drive from my A1200, labels, and more)!
Before we look at some photos of the unboxing, here is some general information about the A1200NG:
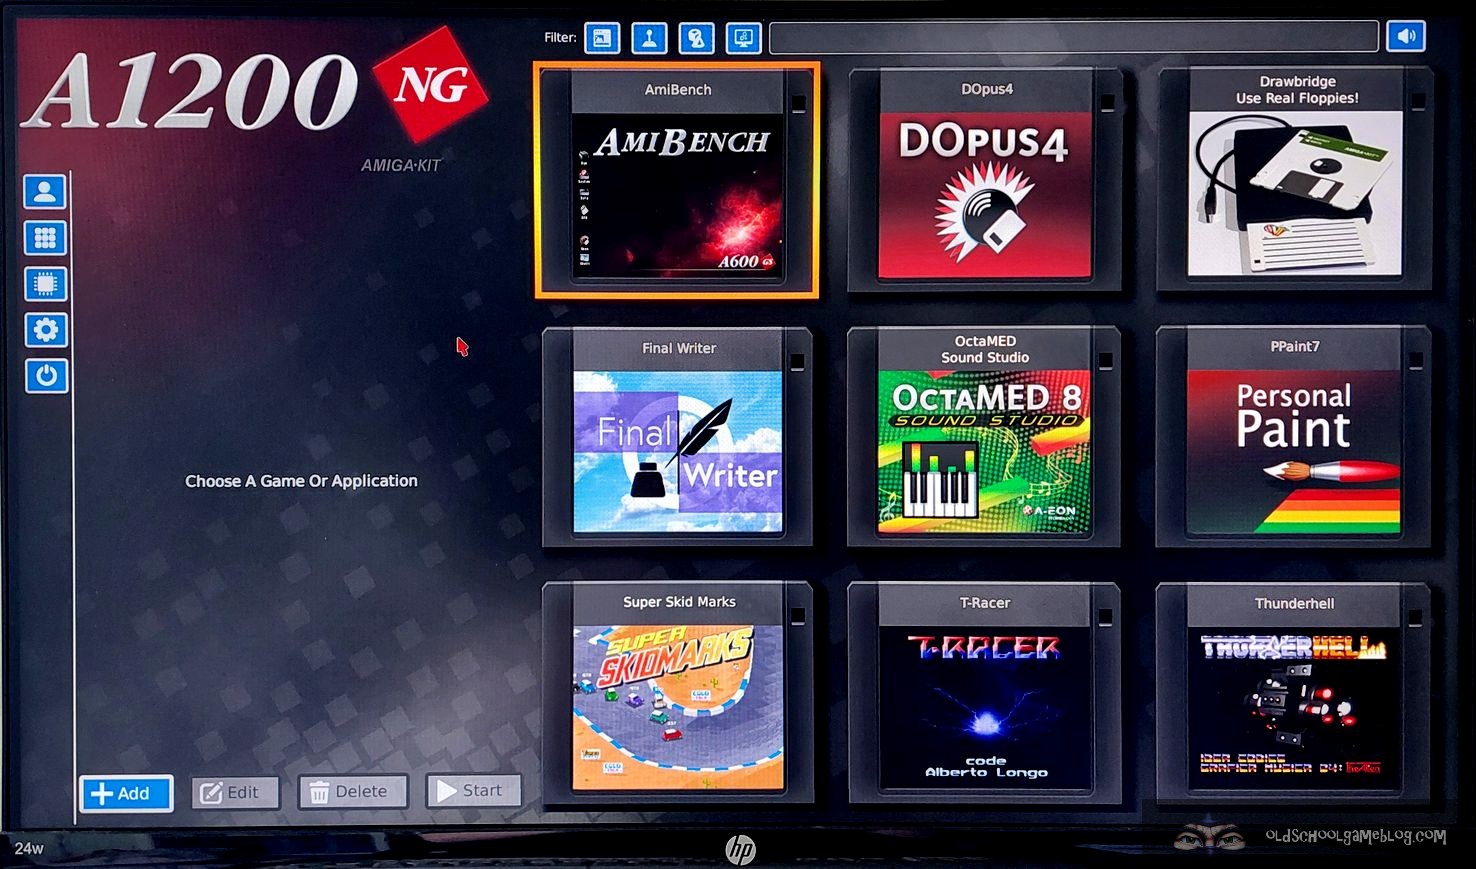
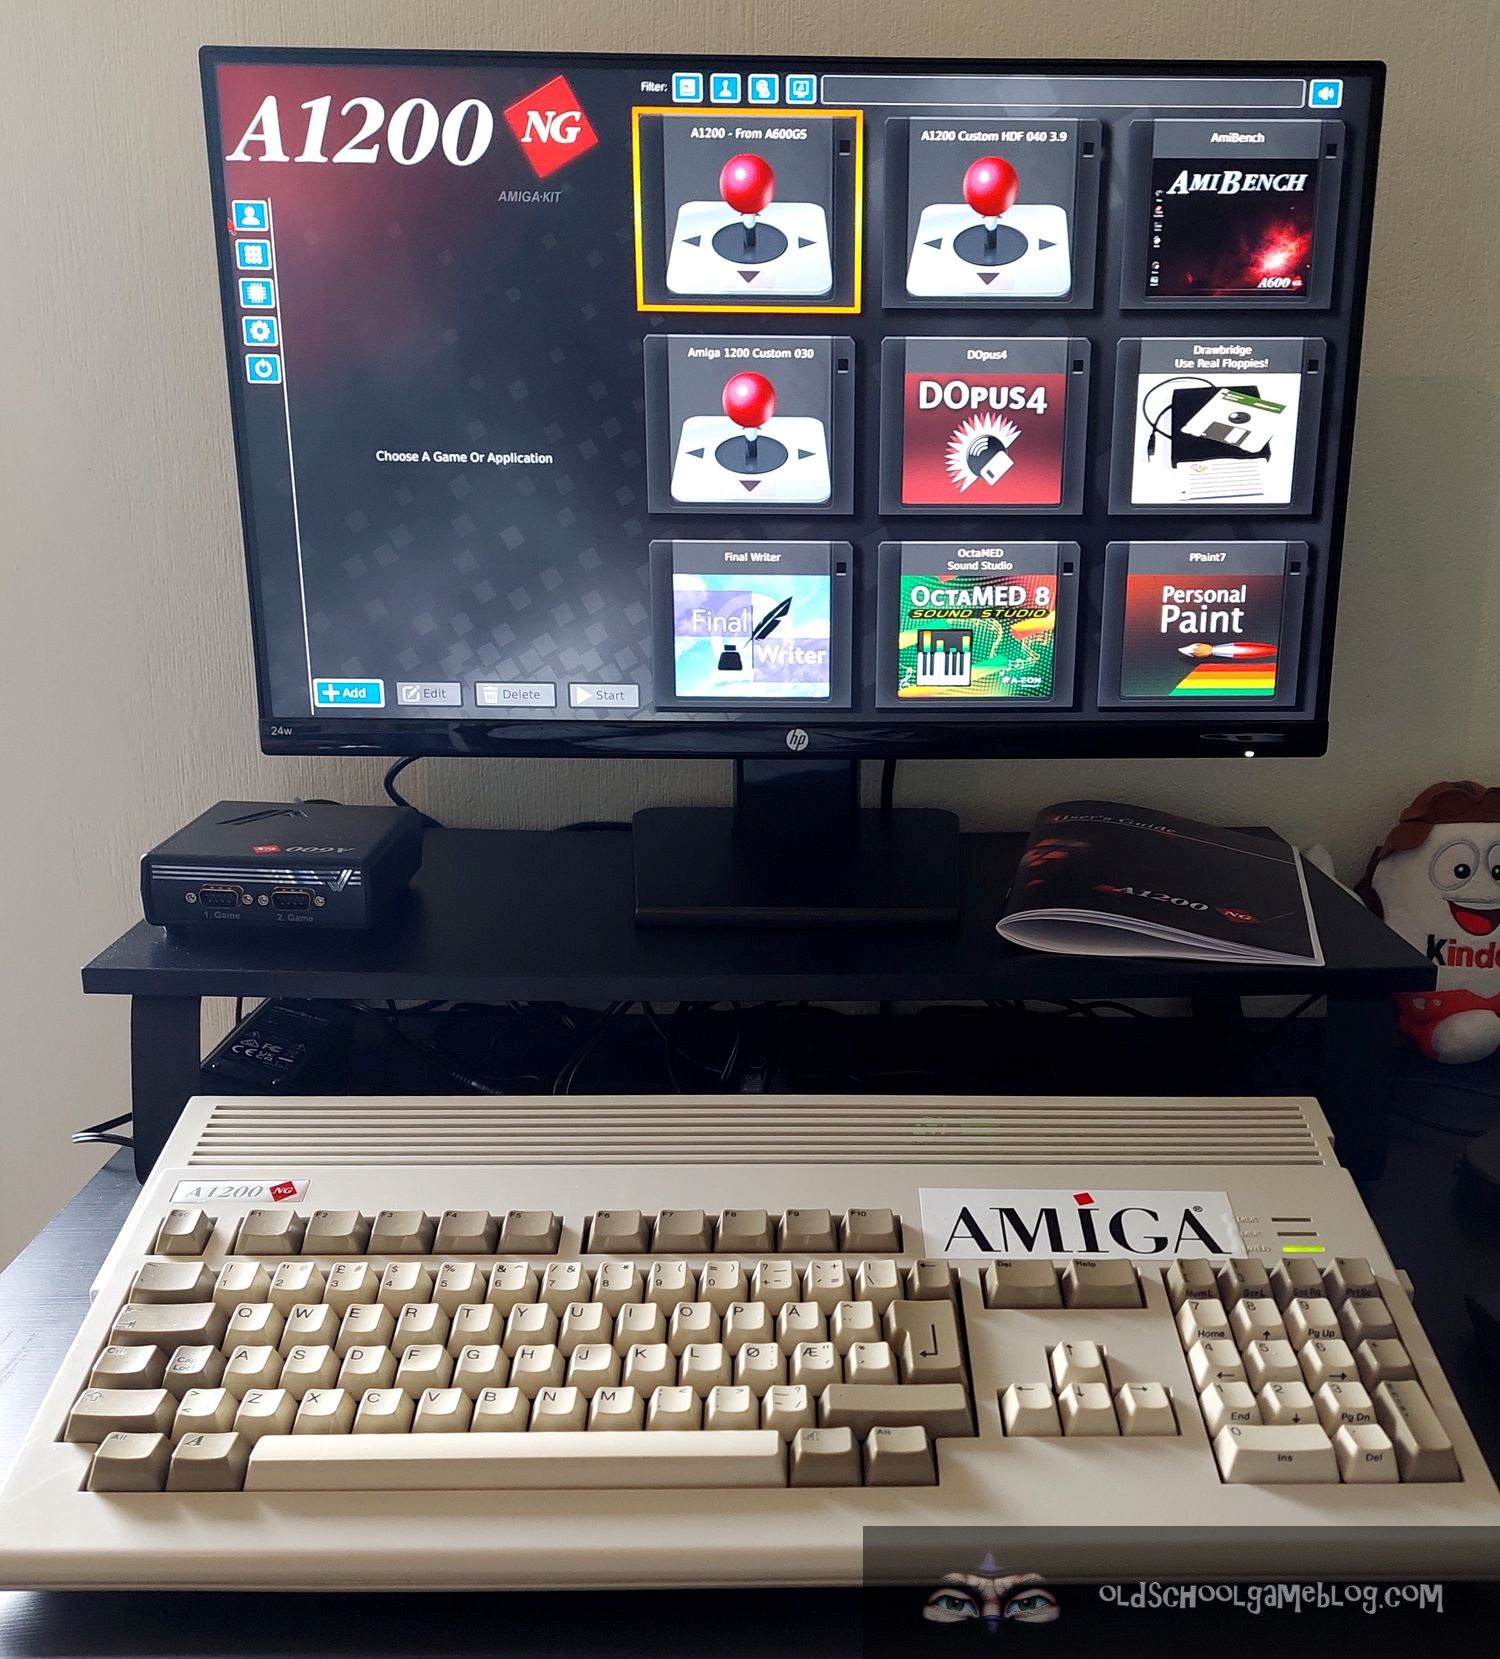
It is very similar in operation to the A600GS, since it has the same built-in menu and launcher for games, applications, and demos, as well as AmiBench.
- Compatibility: Fits into original Commodore Amiga 1200, Escom, and reproduction desktop cases.
- Operating System: Supports multiple OS installations with direct boot options.
- Display: HDMI-compatible 1080p output.
- Connectivity: Wireless internet, Bluetooth audio output, RS232 serial port (DB25).
- Storage: 64GB or 128GB micro SD card, with internal/external USB headers for additional storage options. (I went for the 128GB one, as it is nice to have some extra space)
- Memory: 4GB system RAM, with 1GB Fast Memory allocated for AmiBench.
- Ports: Dual 9-pin joystick ports, 34-pin floppy header, USB ports, Compact Flash reader, and audio RCA outputs.
- Software: Pre-installed with AmiBench, Personal Paint, OctaMED, Directory Opus, Final Writer, YAM email client, and various games.
The current price is approximately. EUR 191. There are optional add-ons that increases the price, as well as opting for more storage space.
Please have a look at the official webpage on the website of AmigaKit for more information about what is included and so forth.
https://www.amigakit.com/a1200ng-motherboard-p-91333.html
Now let us move onto the unboxing. 🙂
Unboxing
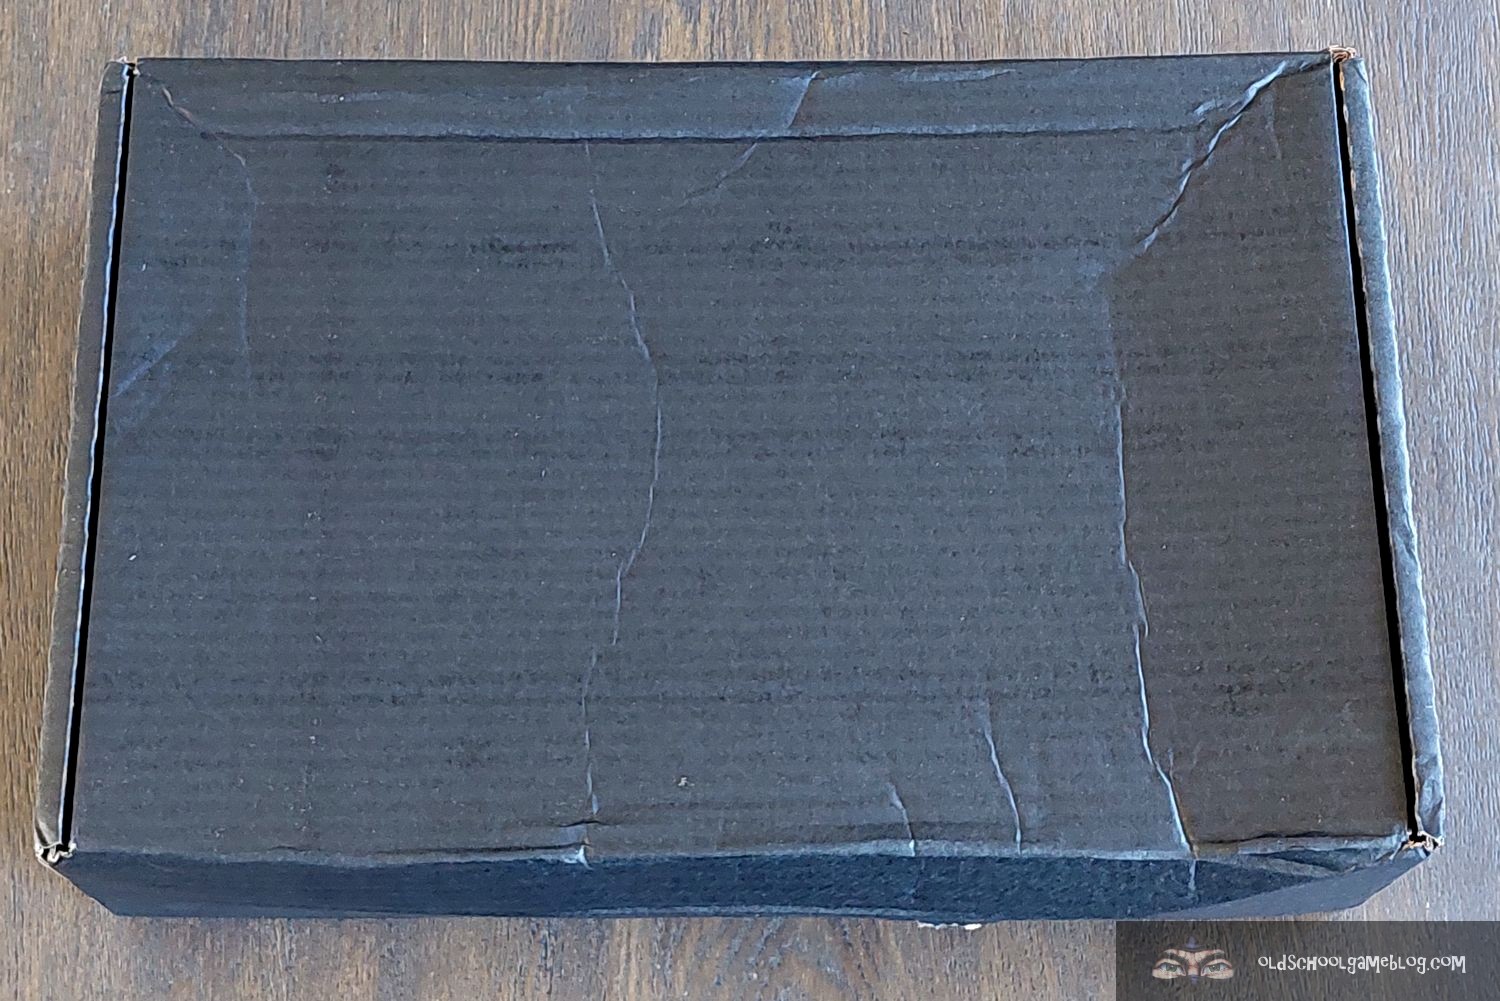
First, here are the photos of the unboxing.


Installation
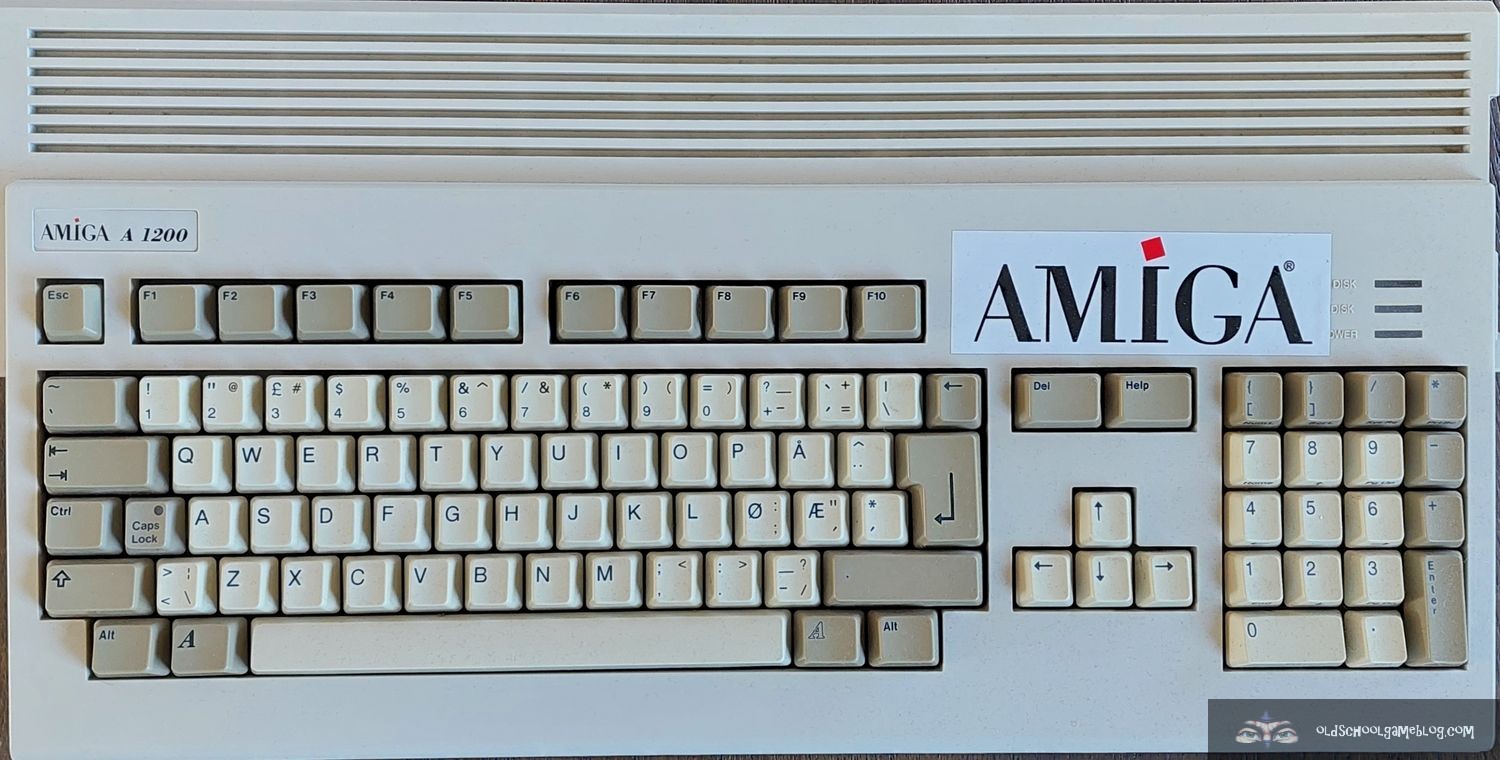
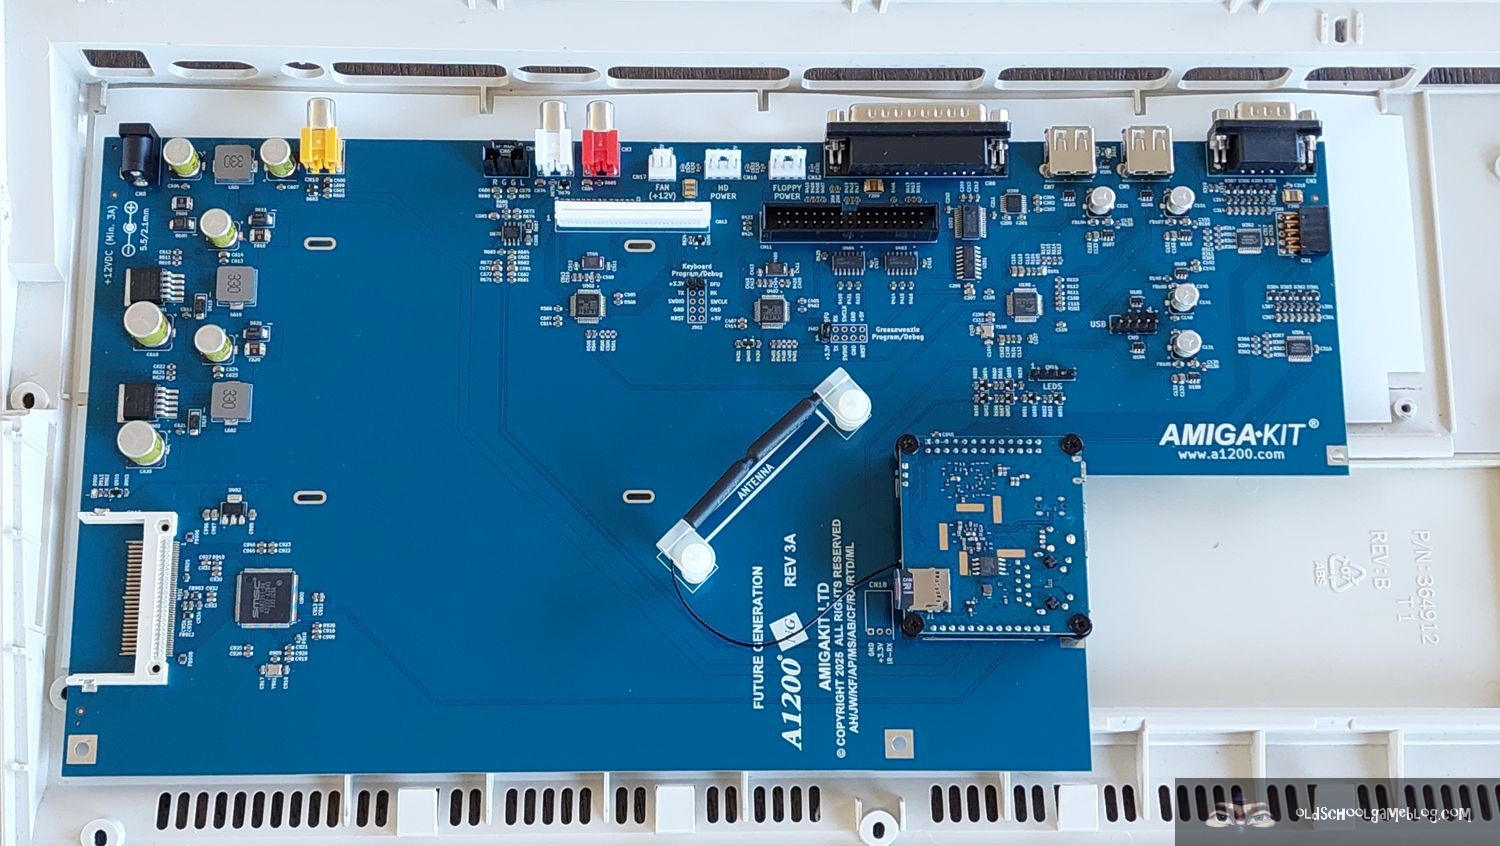
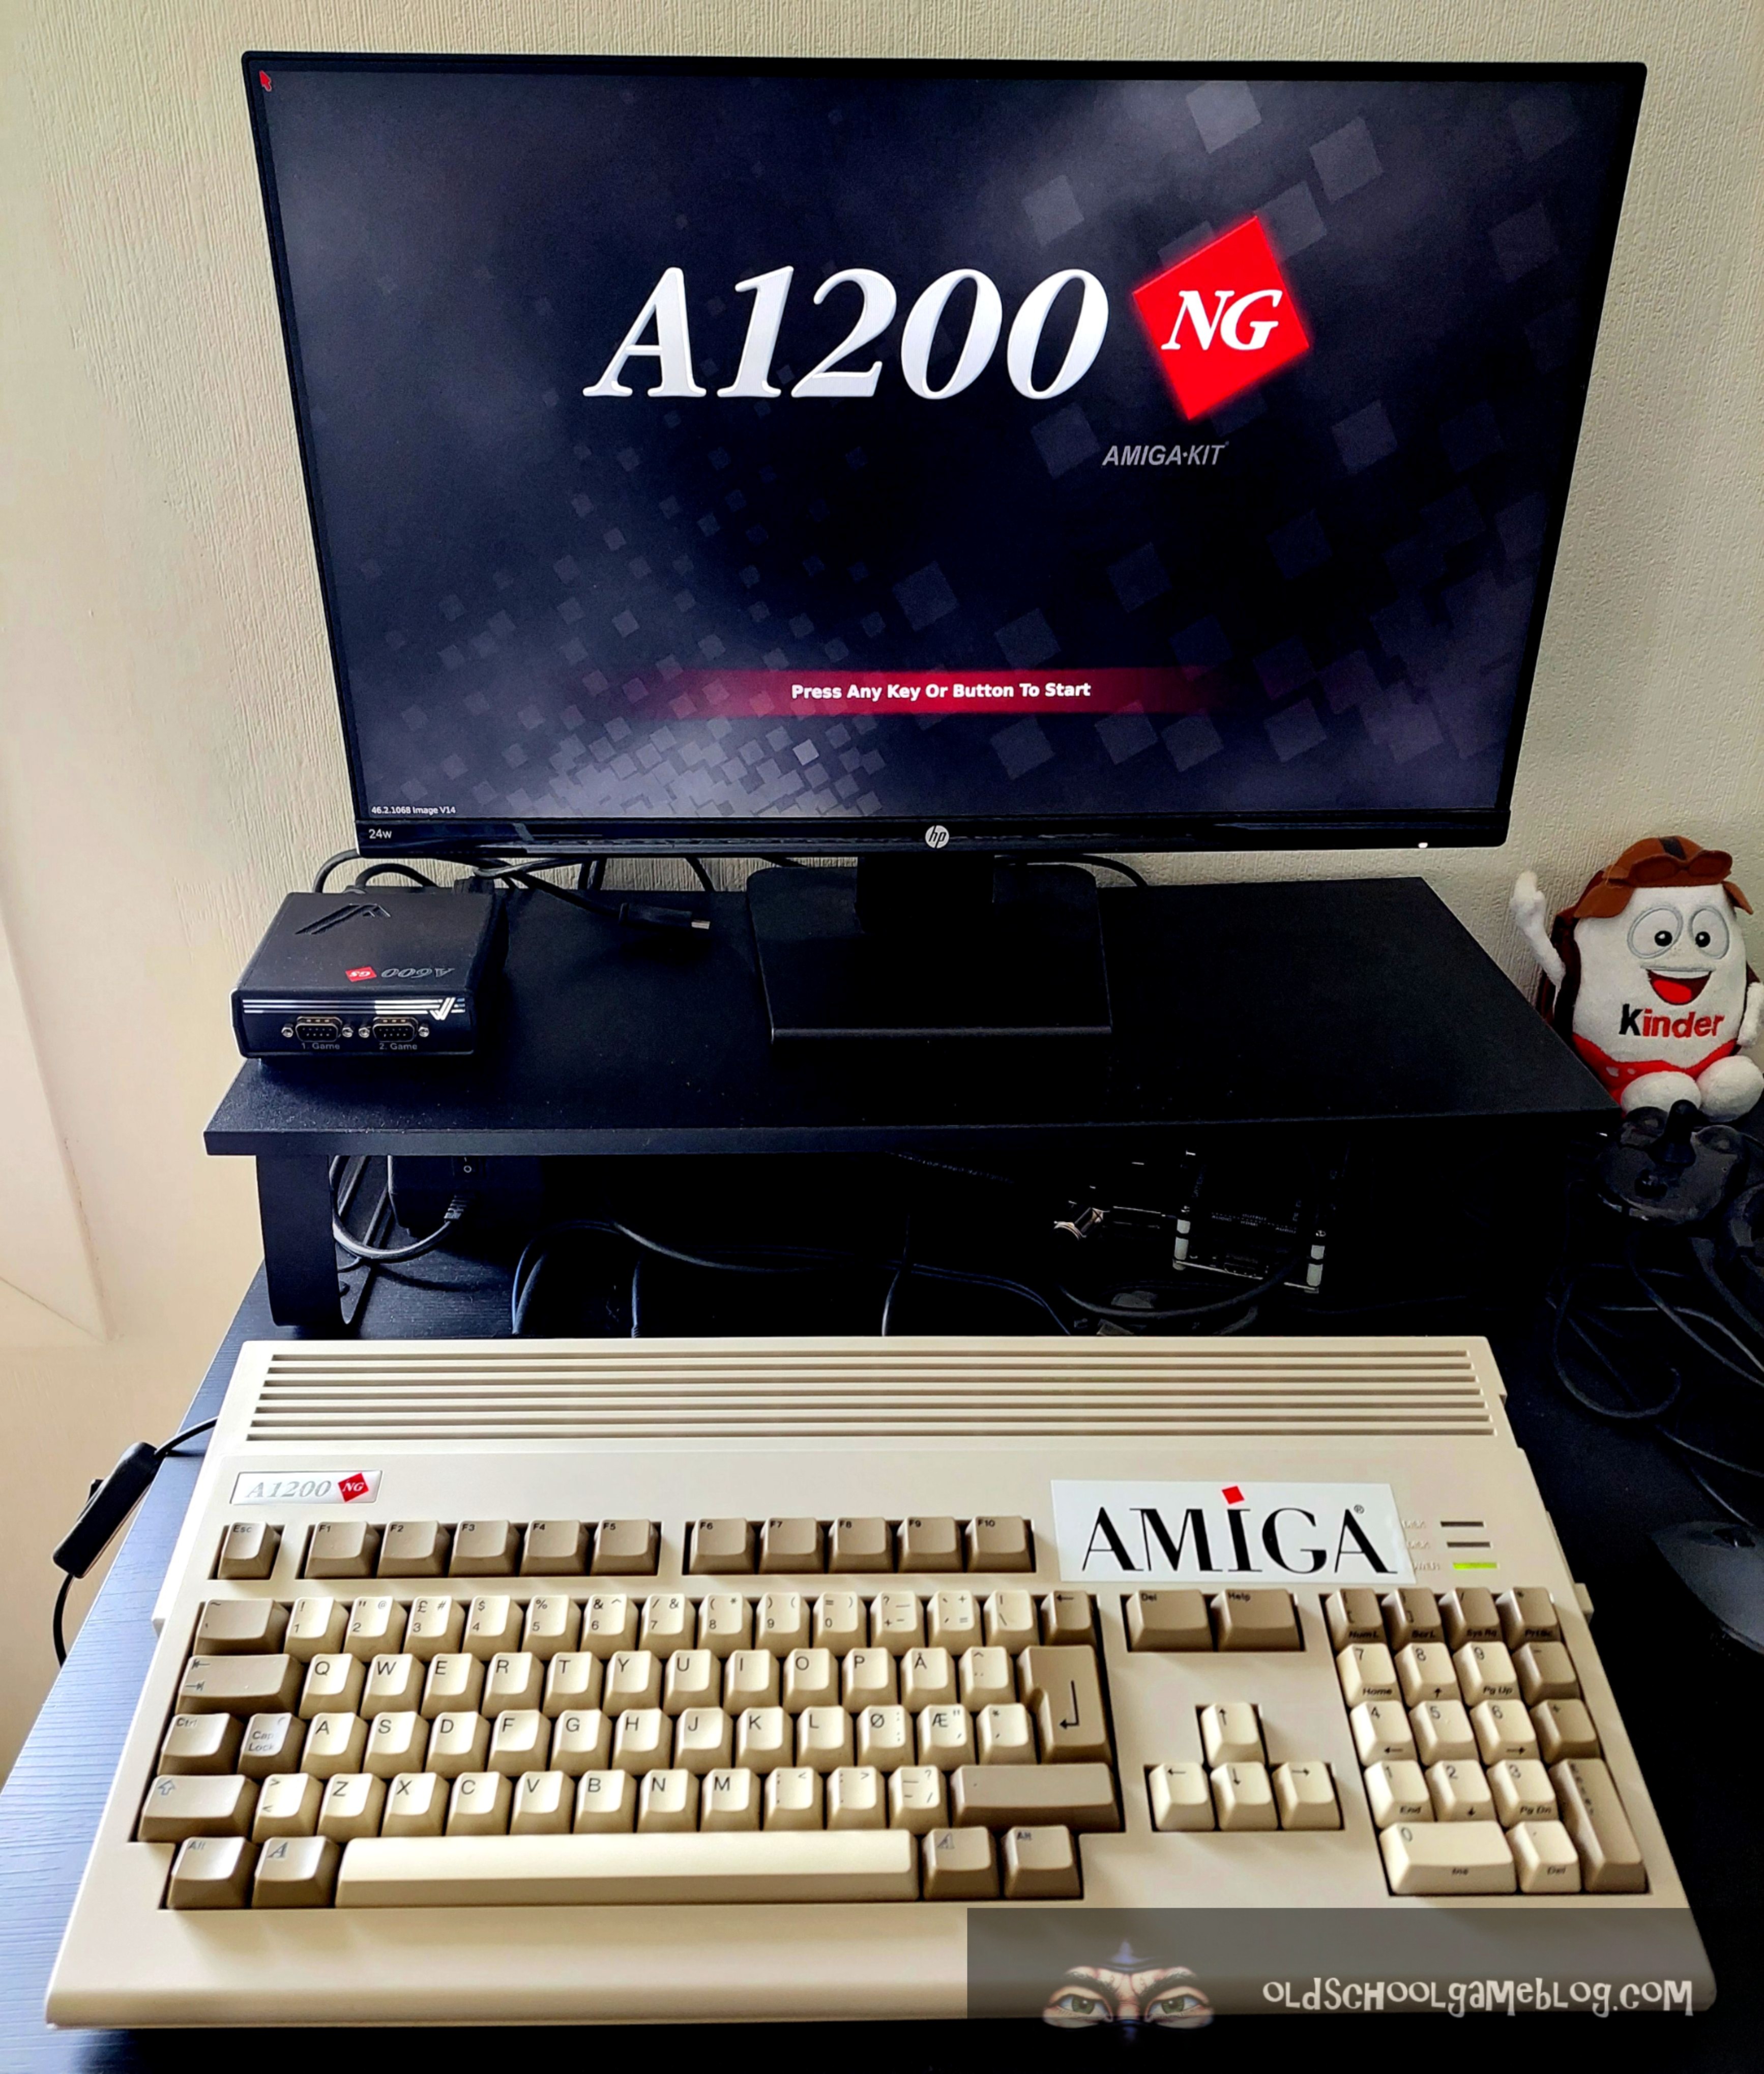
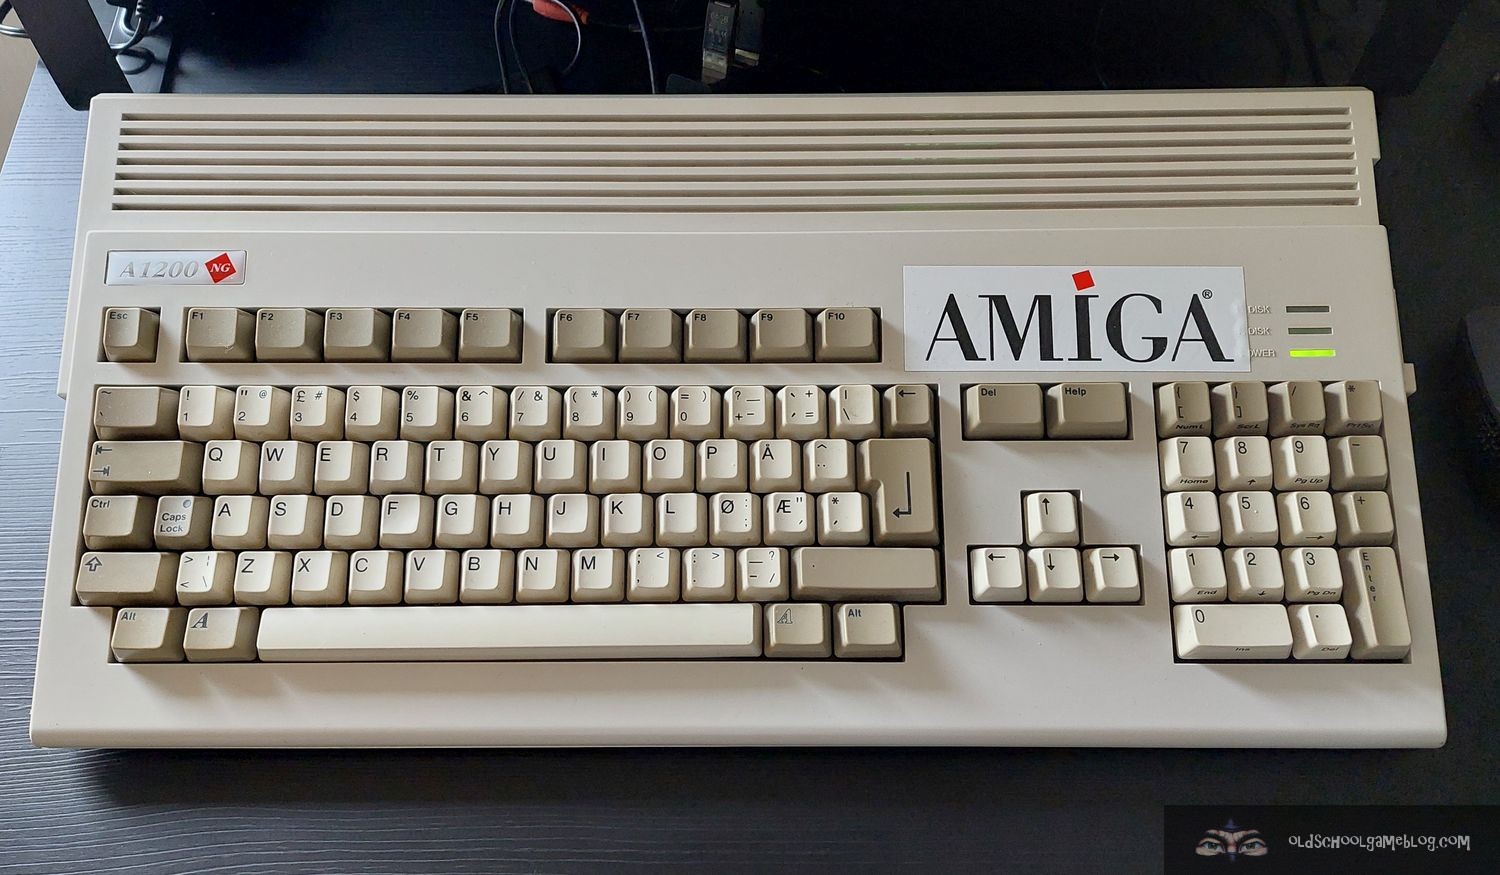
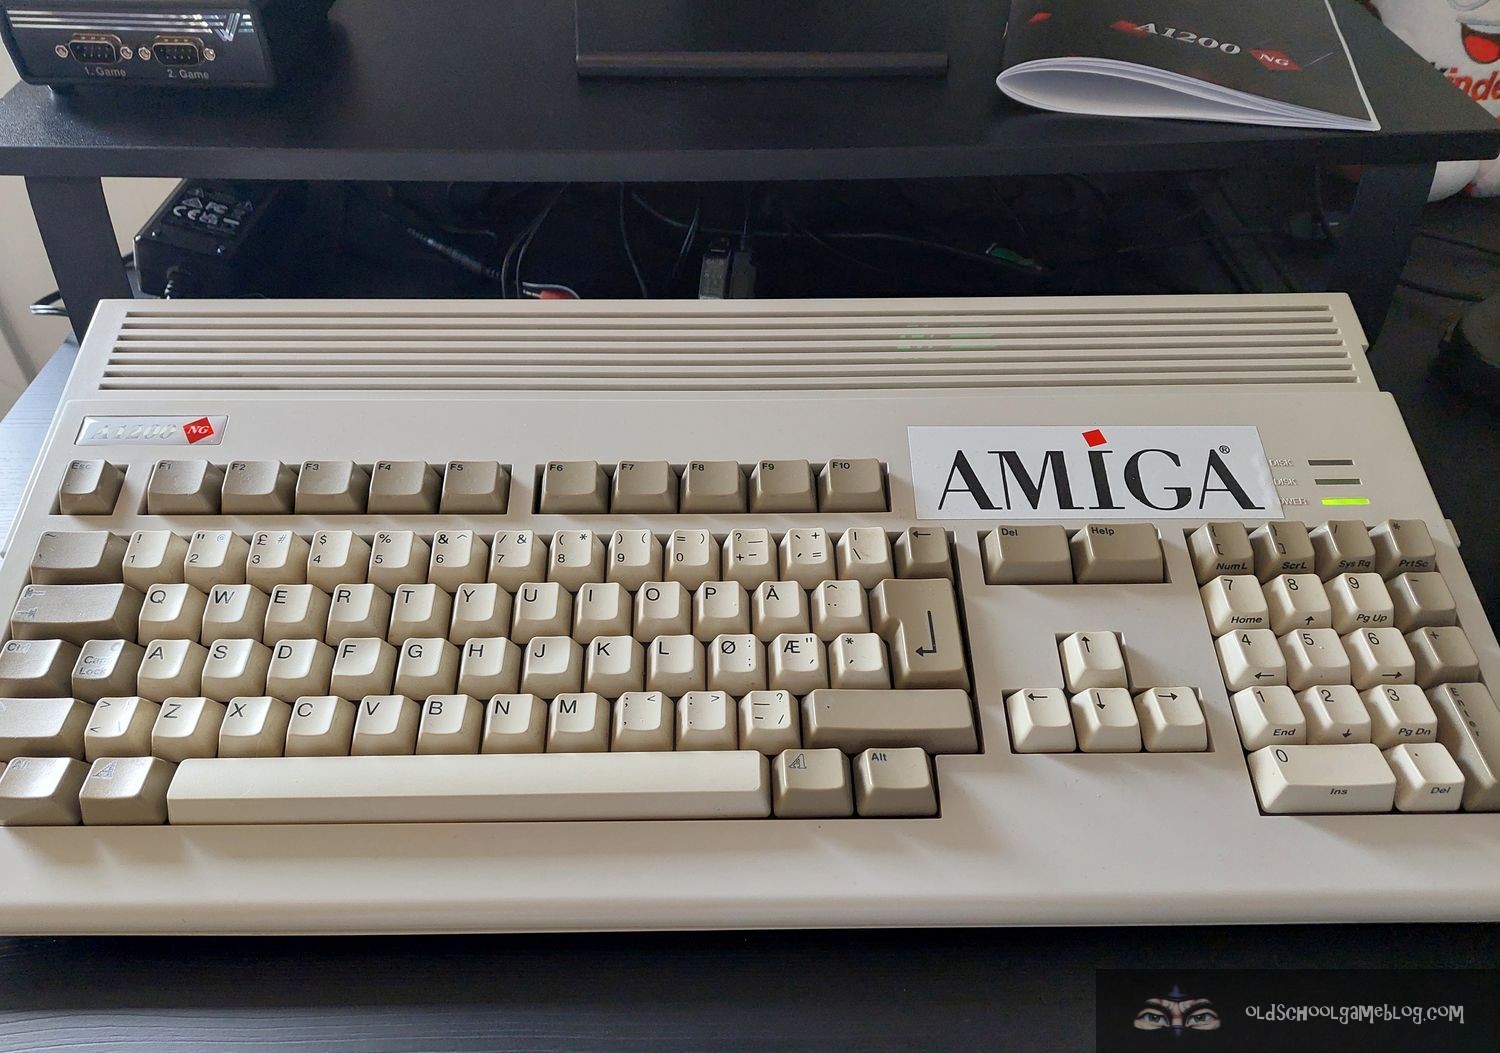
As previously mentioned, I had decided to use my old Amiga 1200 case for this project. The A1200NG allowed me to use the old floppy disk drive and keyboard as well, but also the CF HD I had connected to the IDE port. It also has the standard mouse/joystick port we all know from the classic Amiga’s, so you can use your old (or new) mouse as well. I prefer a wireless one, so inserted the adapter from Logitech and the mouse started working at once.
The case is quite worn. It has been with me since I was a student many, many years ago. Every time I’ve moved since then, I’ve had it with me. I’m sure some readers who have visited this site many times over the years will recognize it from older posts. 😉 It has been the home of several different turbo-cards, upgrades, hard drives, and so forth. It has even been to an Amiga demoparty! Now it will house the A1200NG. So please don’t mind the cracks and dents of it, it’s seen a lot during the years. 😉 Keep in mind the case actually looks better on the photos than in real life.


After the installation, it was time to get it configured software wise.


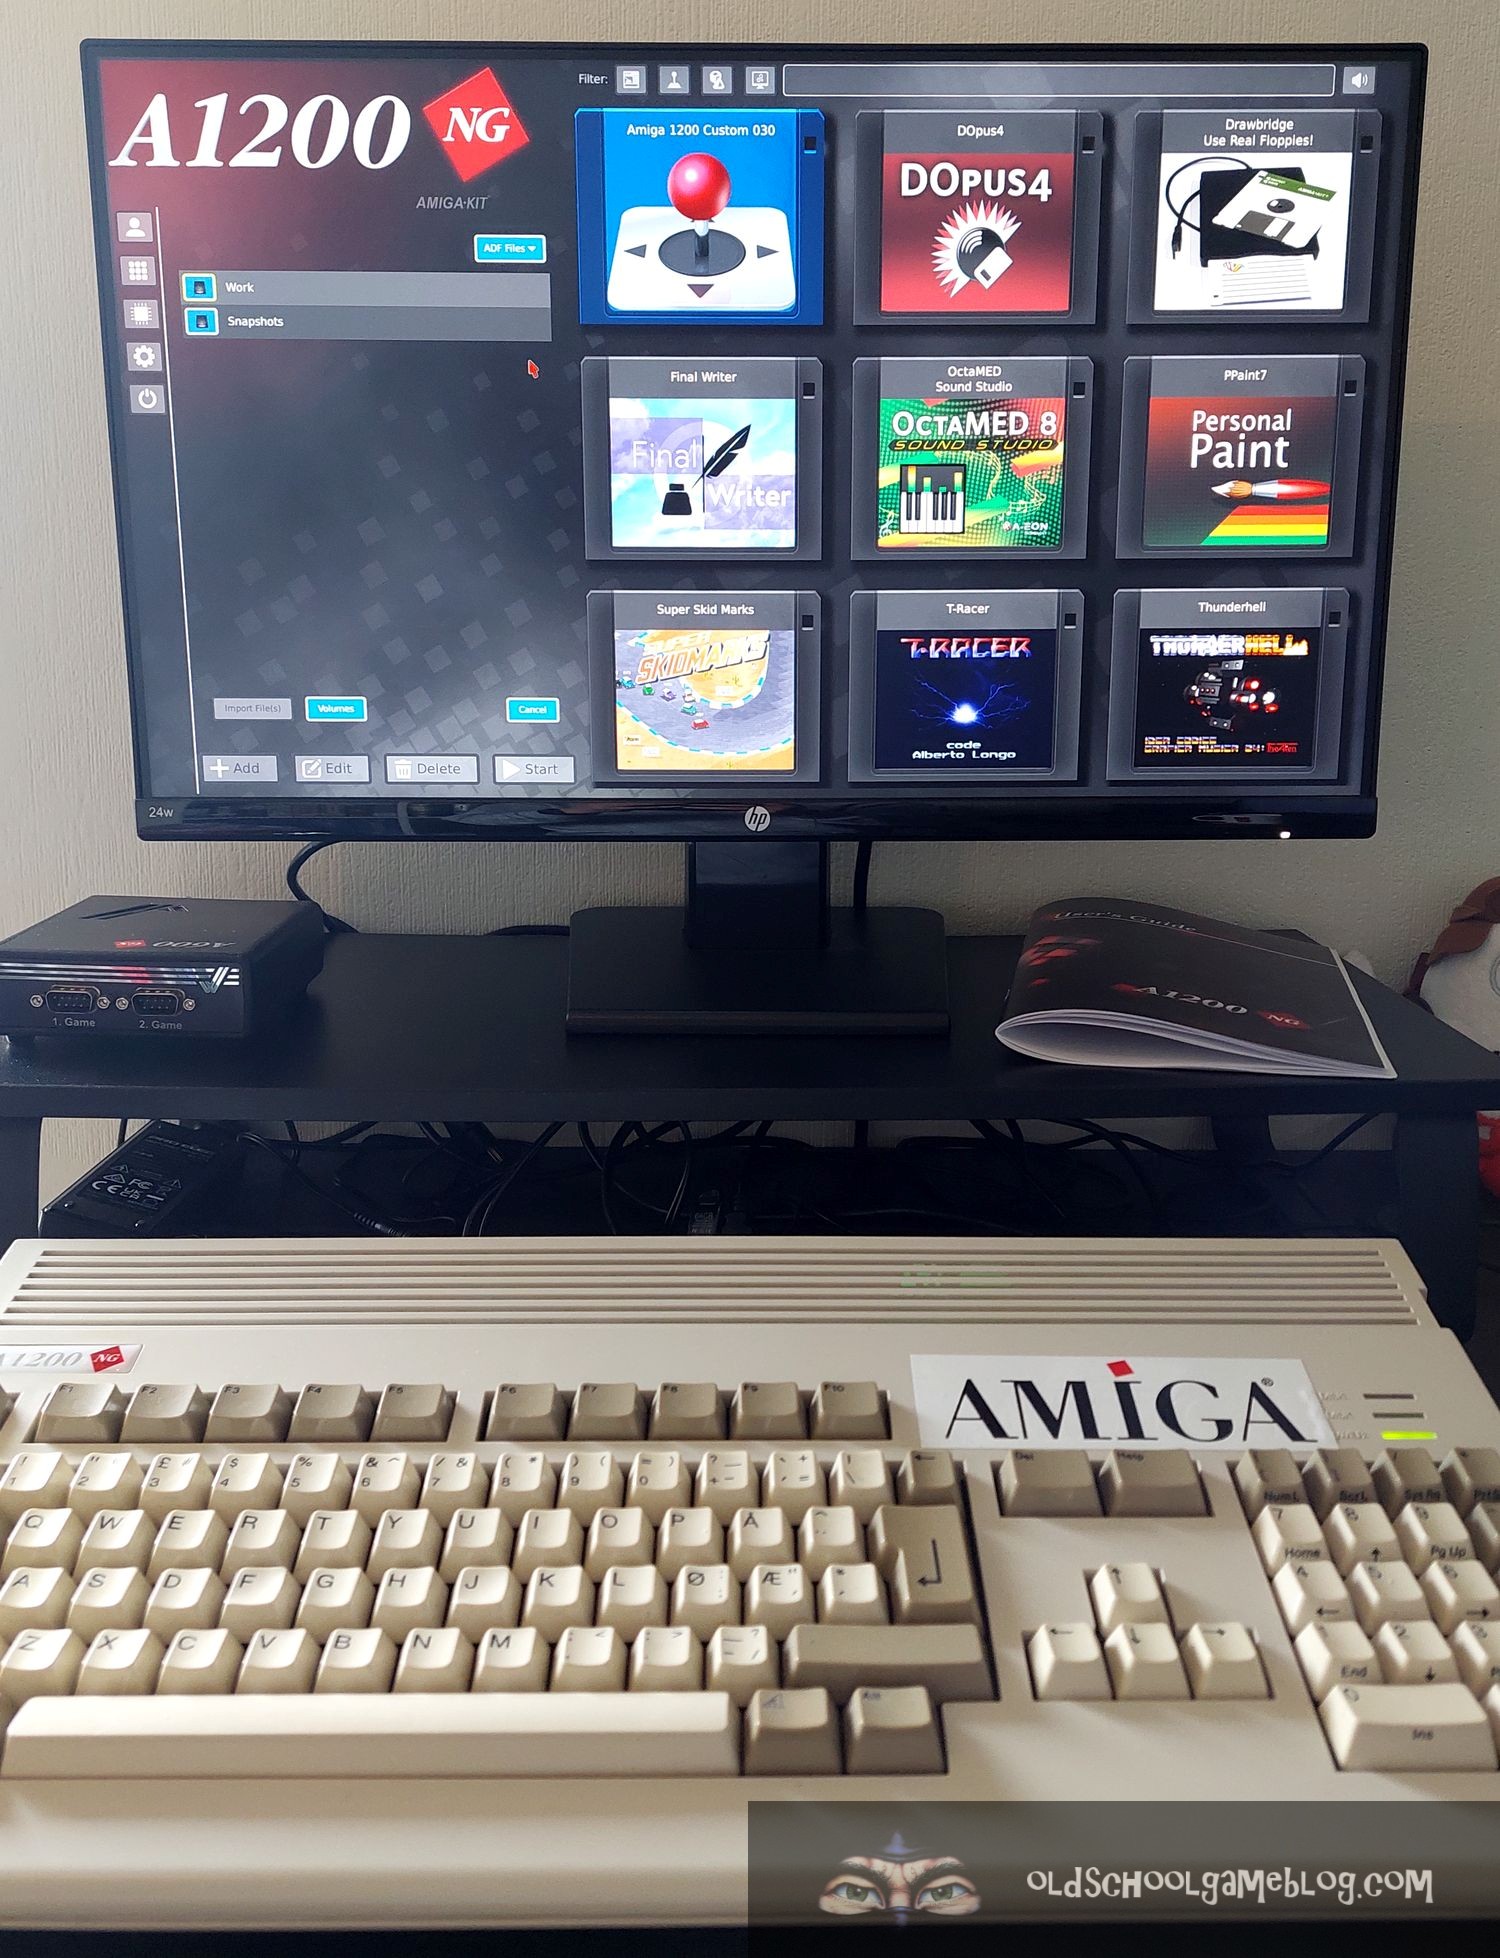


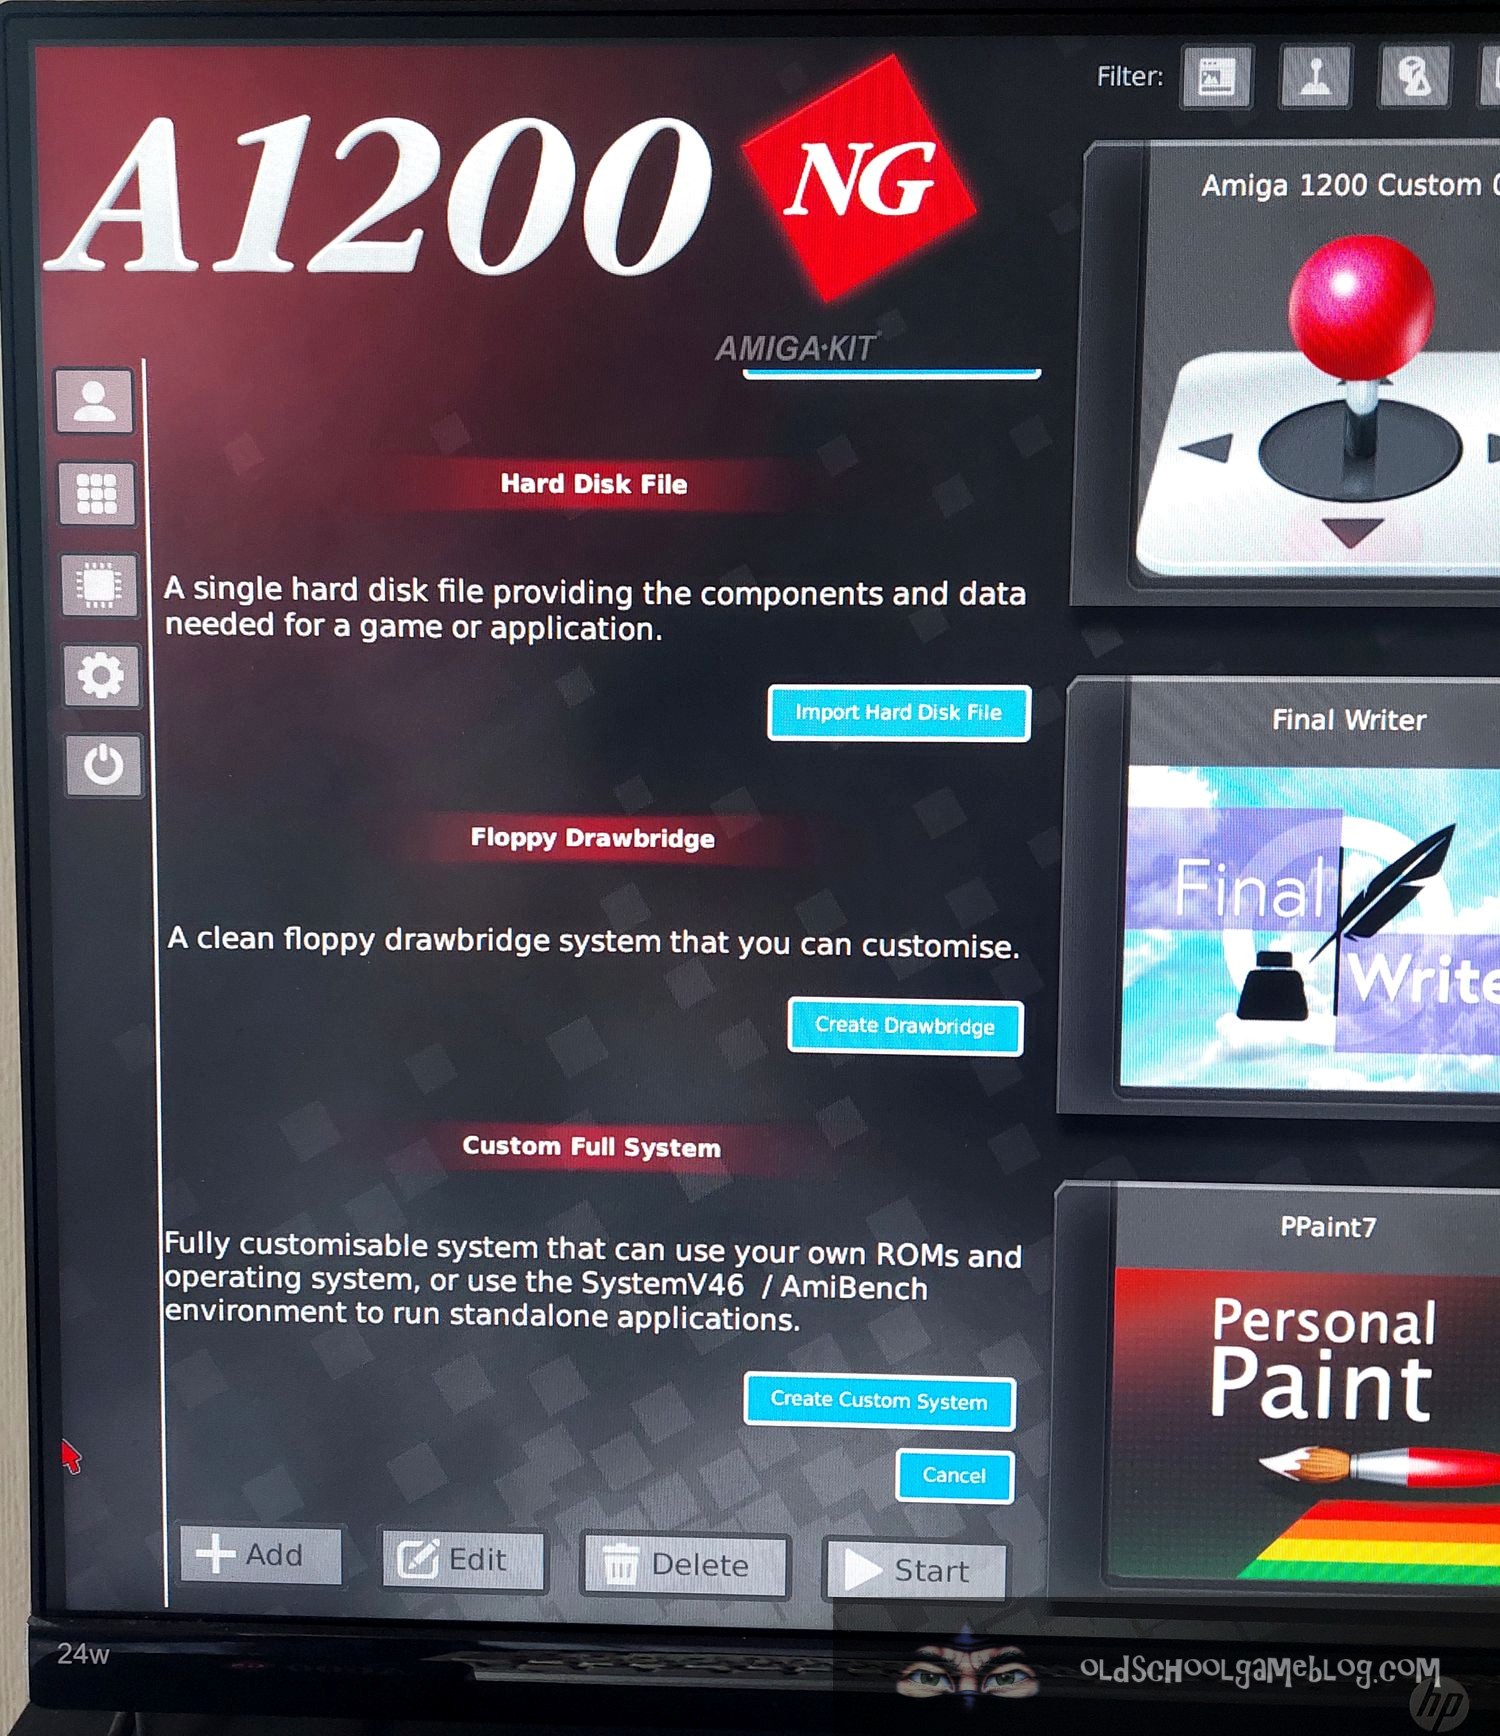


The installation went fine and everything works as it should, even the old floppy drive is still ticking along. 😉
I will not do a write-up of how to install the system in this post, but have noted some helpful pointers below that I hope will help.
For how to install, I recommend the manual, but most of all the videos made by Iowtheme.
Here is one from him of how to install the A1200NG in a case:
Here is another with the First Time Wizard:
Now, there are a few things which are important to remember when setting up the A1200NG (just like with the A600GS):
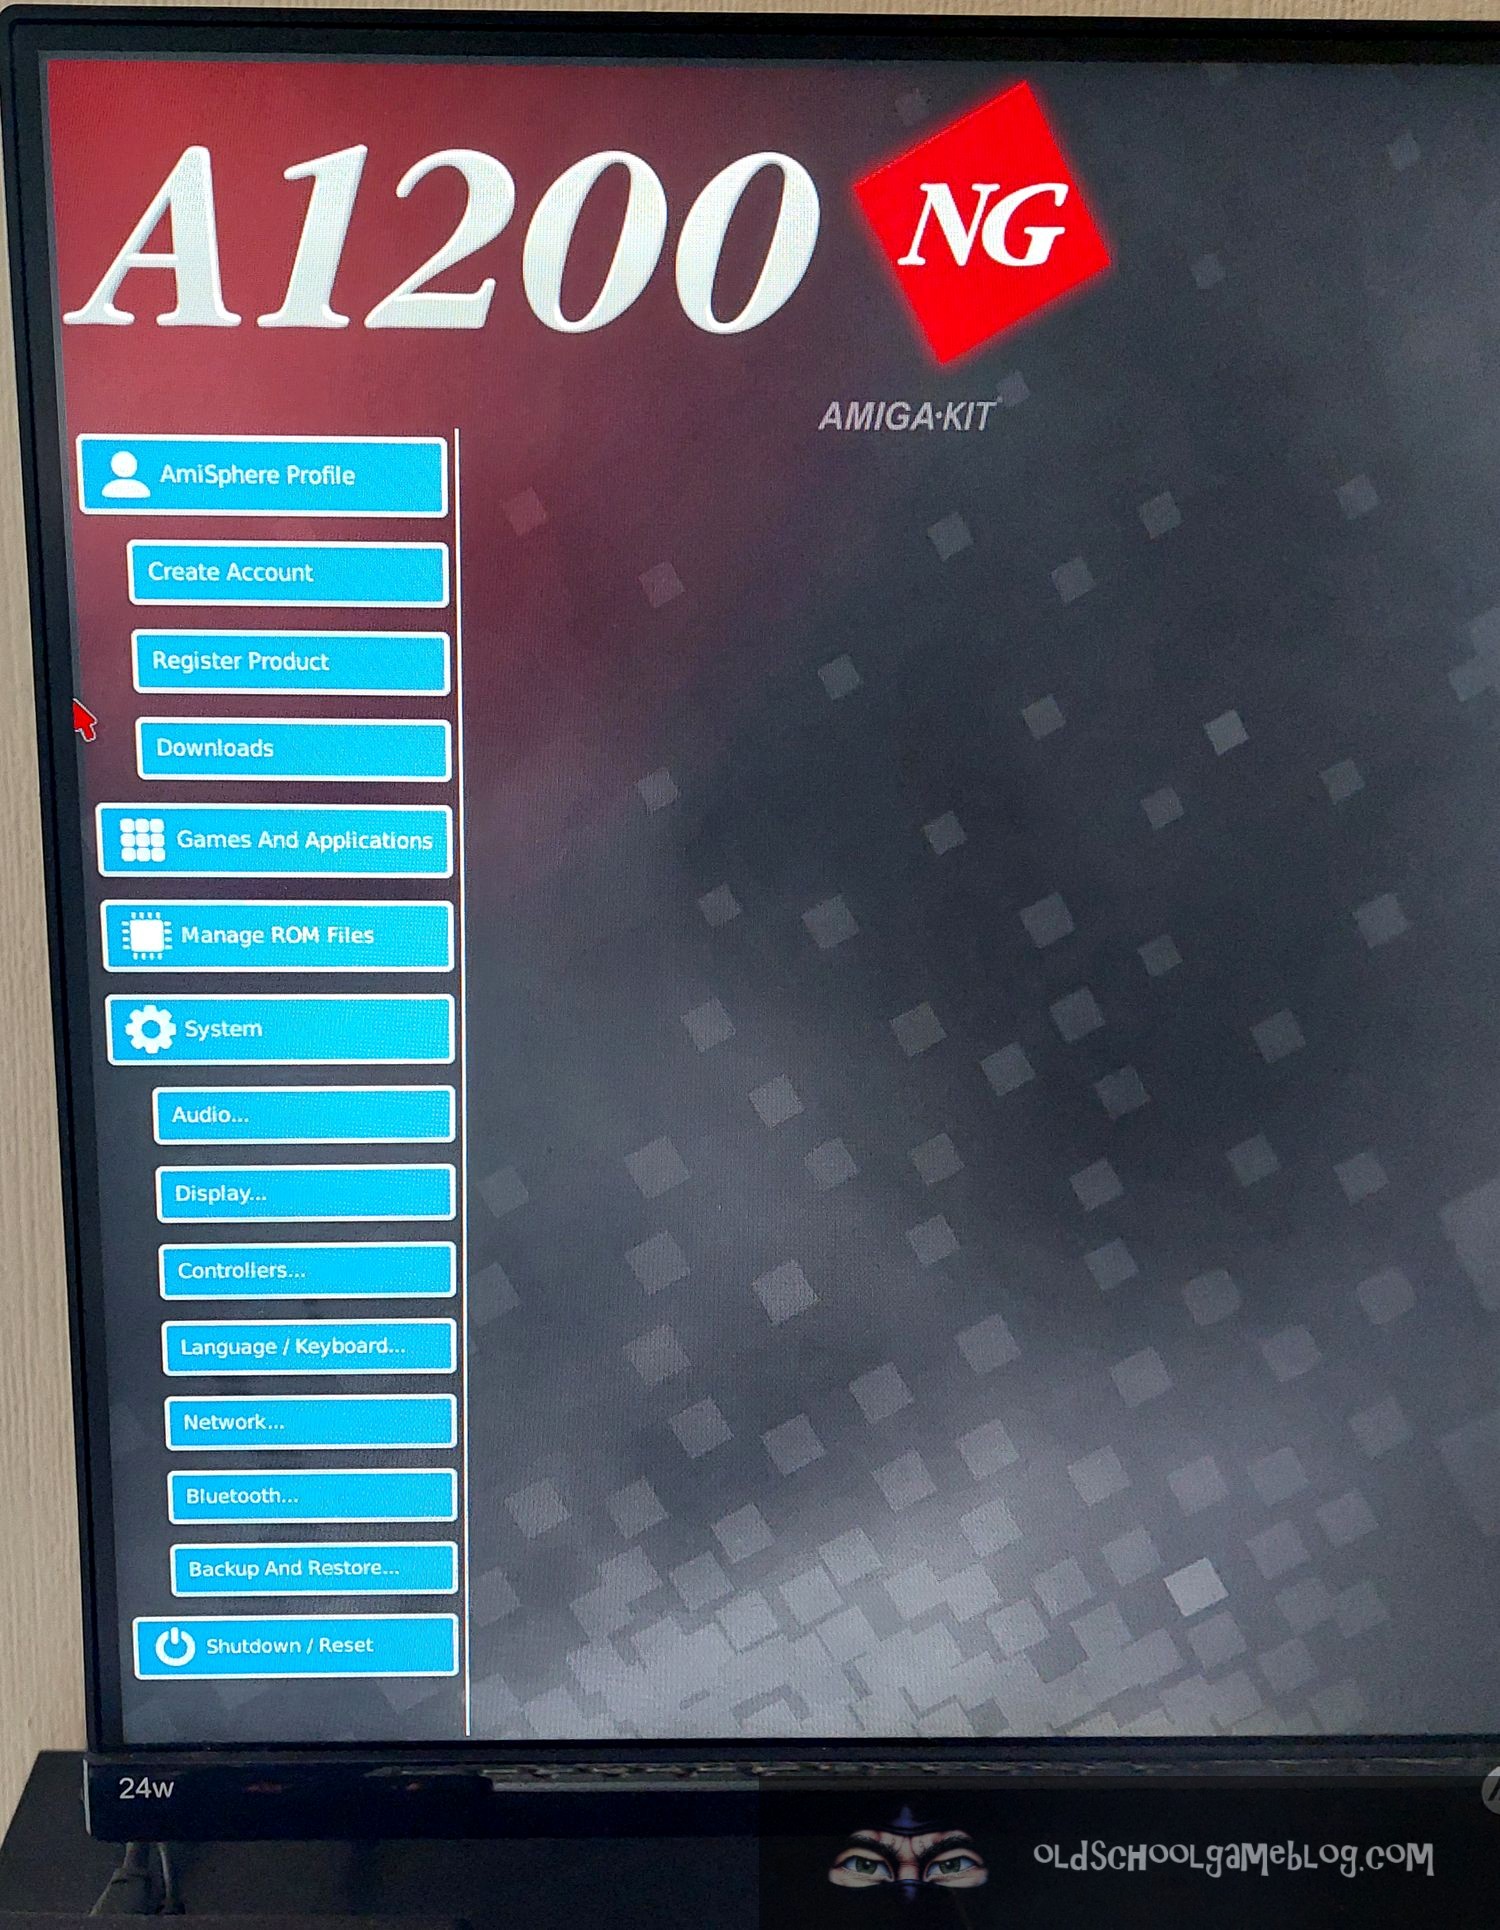
- INTERNET: Connection to the Internet is done with the Network option in the sidebar menu. Wireless works out of the box, so you can insert the name of your home network and password, and then get online straight away. There is also a port for Ethernet connection on the board if you don’t have wireless where you are.
- AMISPHERE: Log into AMISPHERE straight away to get the firmware updated to the latest version. If you do not have an AMISPHERE account, I highly recommend getting it straight away. The firmware is often updated and bugs fixed. It is vital to keep the system updated!
- KICKSTART ROMS: Have some Kickstart ROM’s ready on a USB stick. Many games and demos requires an original Kickstart (not AROS) to work properly. In the First Start Wizard you are prompted to import Kickstart ROM’s, so it is handy to have them all ready. If you are not sure where to get these from, I recommend getting them from Cloanto through Amiga Forever.
- USB-HUB: The A1200NG has two USB ports on the back – this is not enough if you want to have a wireless mouse, a USB stick, a game controller hooked up. I recommend getting an USB hub first thing. You will also make life easier for the USB port it is plugged into if you often swap devices.
- MENU SHORTCUT: Make a good key combination for bringing up the A1200NG menu when you are in a game, system, demo or something else. I use L-ALT and HELP. On the A600GS you could use the controller, but that one is not included with the A1200NG.
Summary
All in all, I’m very happy with the A1200NG. Using it is very much like the A600GS, except that I get the feeling I’m still using my old Amiga 1200. Having the original keyboard, the floppy drive, the same case, makes for a a very nice experience.
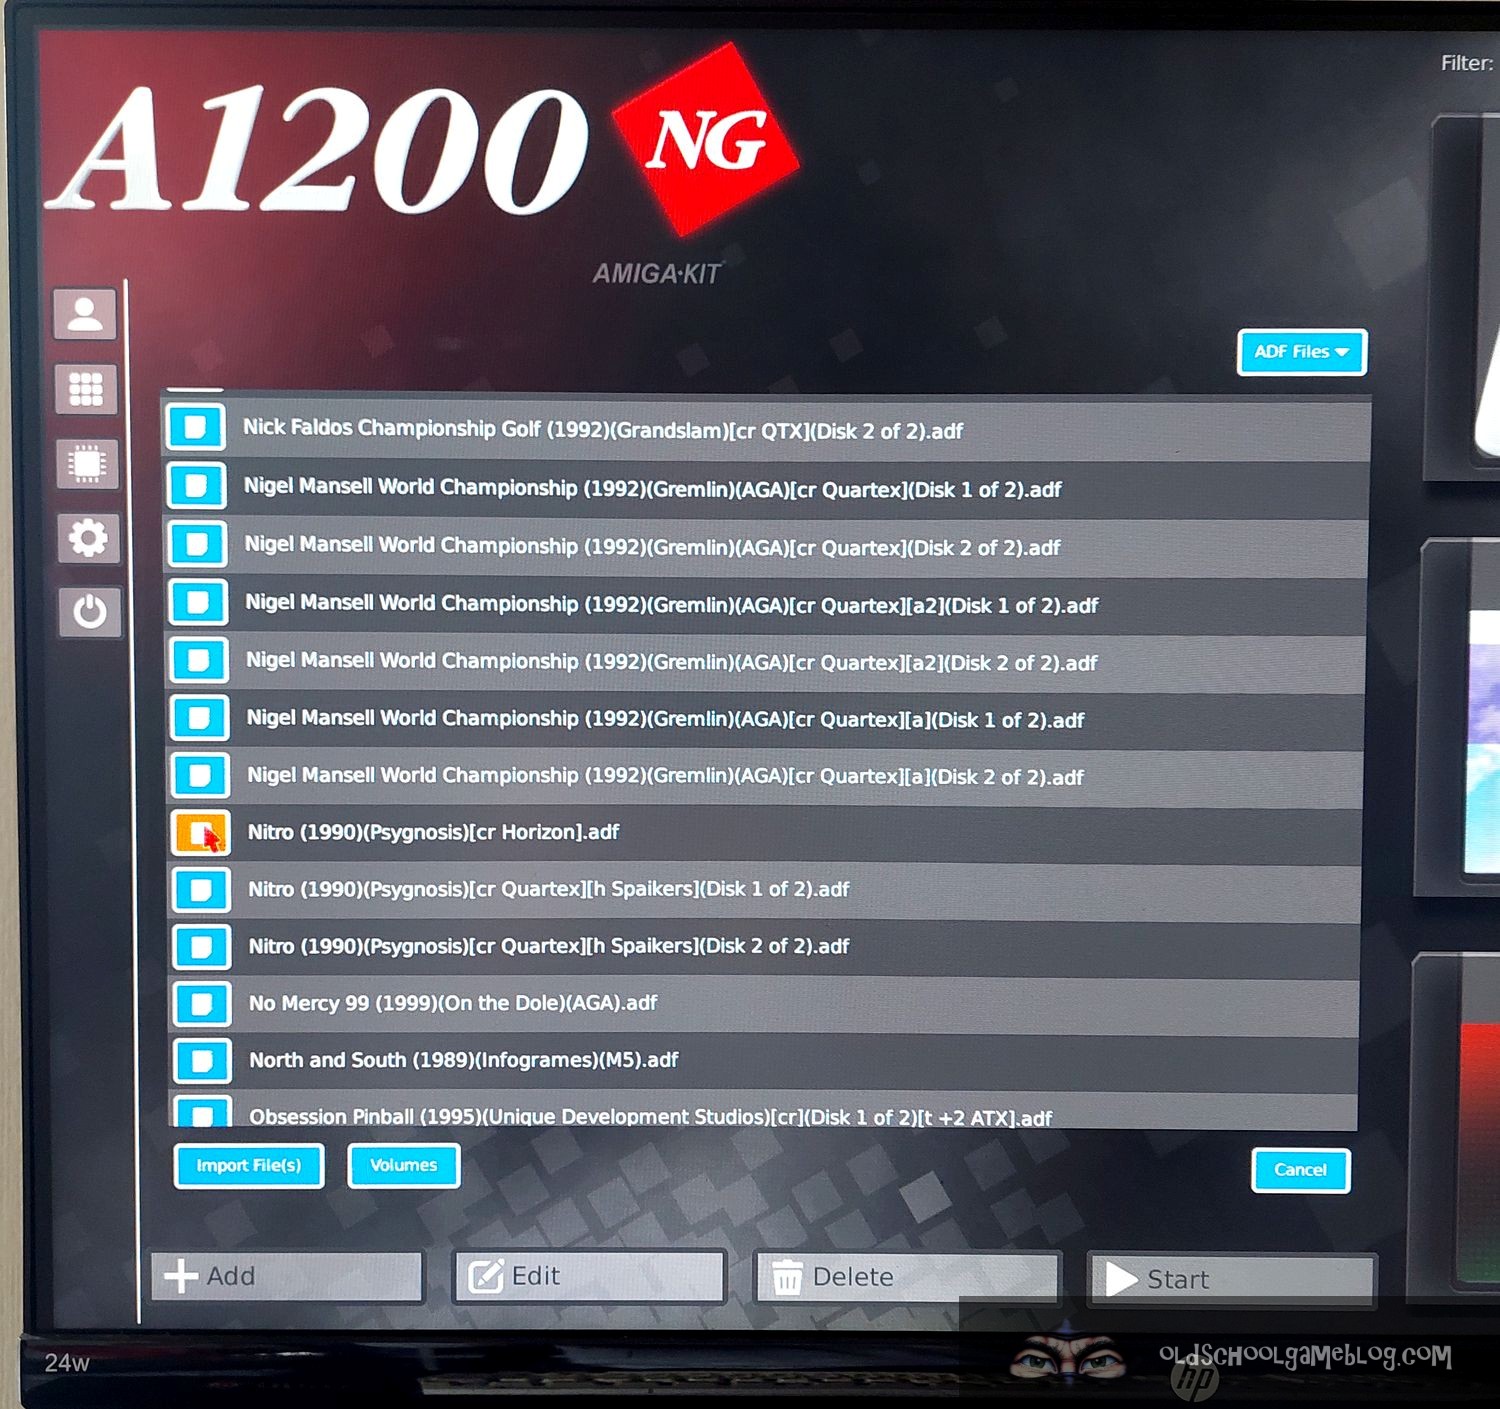
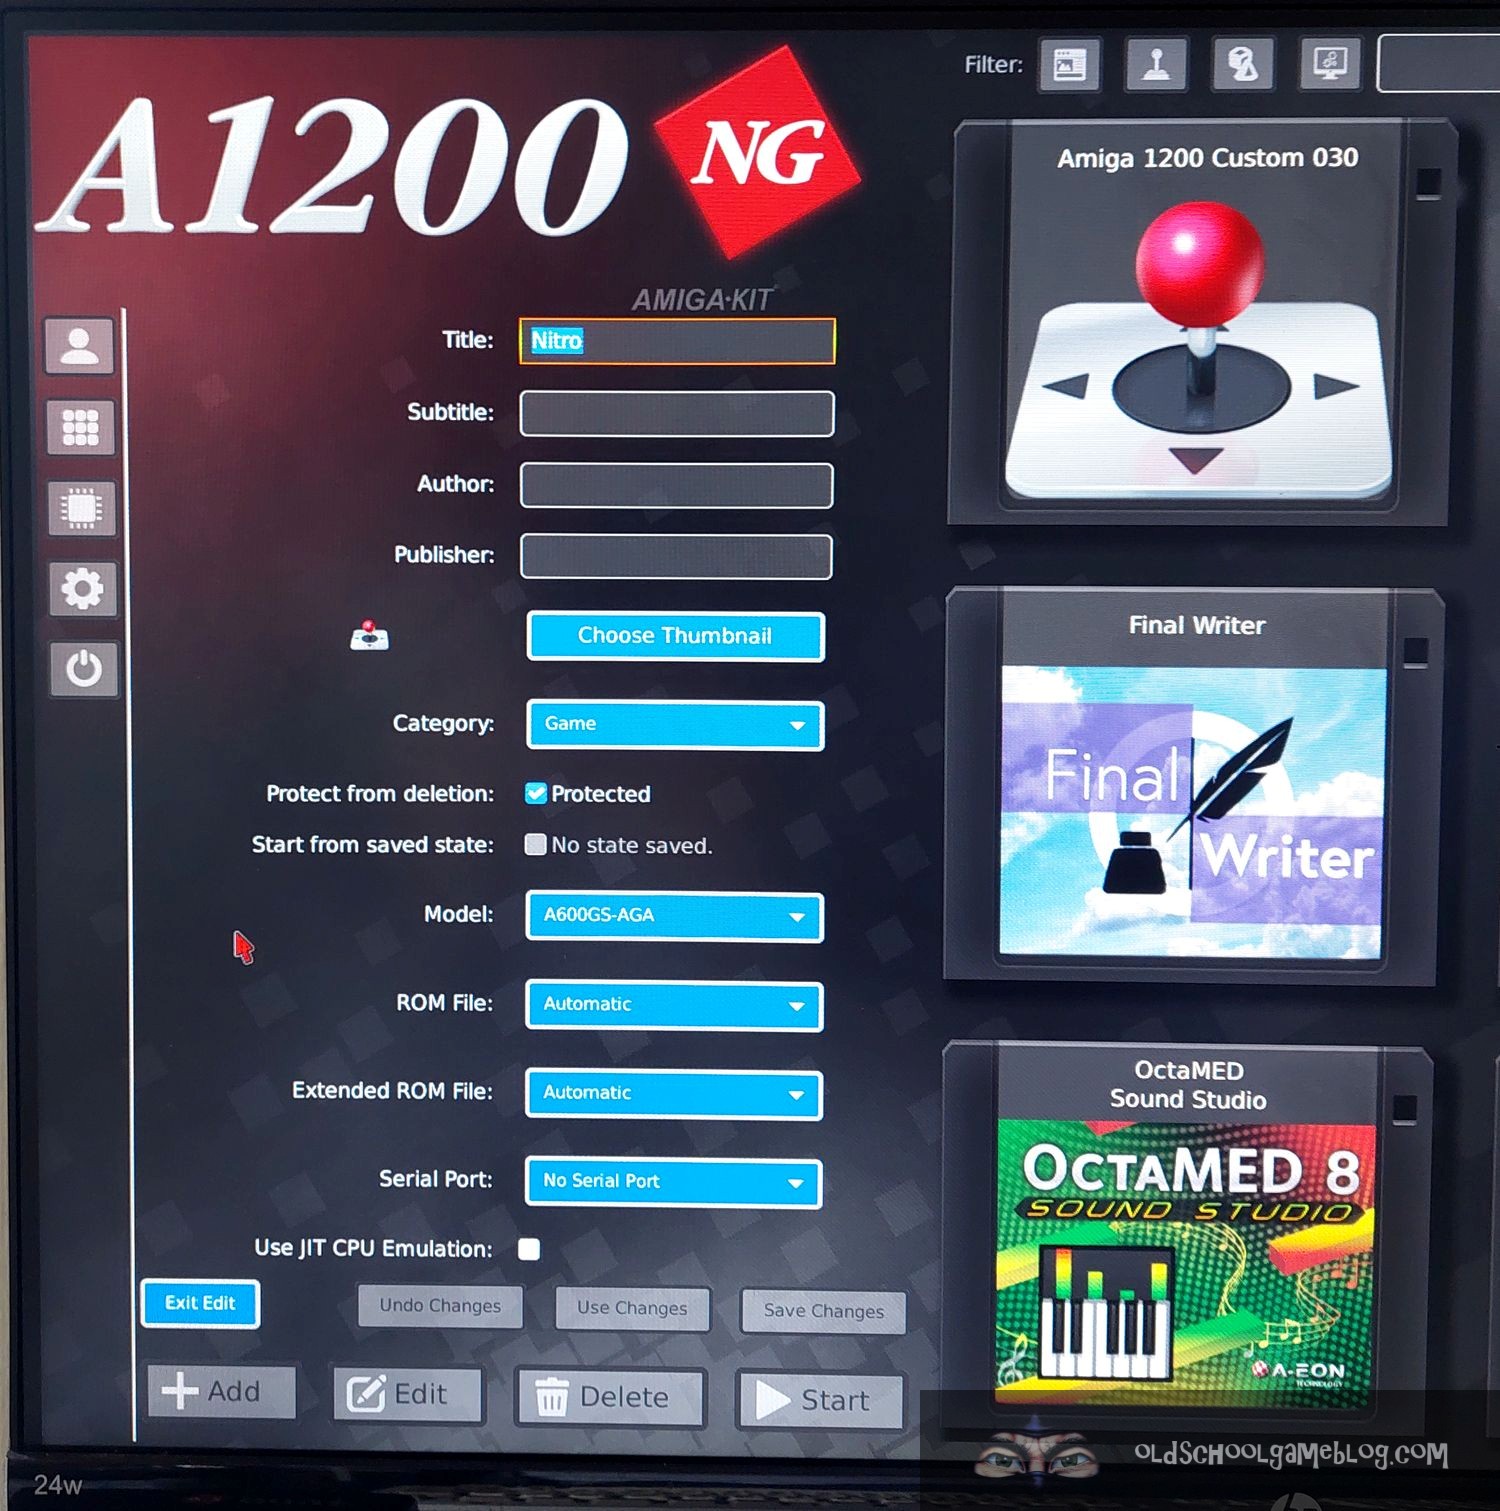
As of now, I’m customizing and setting up various systems (one for Workbench 3.1 with 68030, another for a more faster classic experience, configuring AmiBench, adding games and demos, and more..). I’m looking forward to experiment more with it in the coming months! 🙂
Hope you’ve enjoyed this post, and that you will come back and check out some other content here on the Old School Game Blog!
Thanks for reading and have a great day! 🙂
Best regards,
Puni

Danke für die ausfürliche Info . meiner ist auf dem Weg zu mir. Bin mal gespannt was ich an Zoll zahlen muss.
LikeLiked by 1 person
Thanks for commenting and congratulations on your purchase! Hope you’ll receive it soon! 🙂
LikeLike
eventuell kannst ja mal ne Anleitung machen wie man amigaOS auf dem amikit Board installieren kann….
Daran verzweifel ich gerade
LikeLike
Hi! That is a good idea for a future post, but in the meantime I recommend following Iowtheme’s video which shows how to install AmigaOS on the A1200NG from start to finished: https://www.youtube.com/watch?v=x5FIe7AybWs — Hope this helps!
LikeLike
Thanks very much for this article, photos and comments.
LikeLike
Since I am very new, can you write a guide on how to install Amiga OS3.2 on a1200NG. Thanks in advance? Greetings
LikeLike
Hi there! Thanks for commenting. 🙂 Unfortunately, I do not own AmigaOS 3.2 or use it, but if you check the post, you will find a video of how to do it. I mainly use 3.1 myself and it works great with most of the stuff I run, like AMOS Pro, Blitz, various paint programs, and of course games. 😉
LikeLike
Hello. I just finished installing Amiga OS 3.2.3 on the A1200NG. Feel free to drop me a line at abraxxious007 AT gmail DOT com if you need any help/tips.
LikeLike
Great article on the A1200NG! Mine arrived a couple of weeks ago and I have spent around 20 hours all up on it so far, mainly seeing an Amiga OS 3.2.3 system with a full compliment of WHDLoad games, demos, mods, emulators etc.
One negative thing I have noticed is that a large majority of the more demanding Amiga software crashes on the A1200NG. A friend of mine looked into it and found that the issues lies in the Amiberry emulator running on 64 bit hardware with JIT enabled. Apparently on 32 bit hardware there is no issue, but on 64 bit hardware the JIT crashes a lot of 68020+ software. The Amiberry devs know of this and have released a beta version of Amiberry that supposedly fixes the issue, but the A1200NG does not use that new version of Amiberry and as it is running on a 64 bit Orange Pi, a lot of Amiga software simply crashes when you try and run it.
Hope fully we will see an update that fixes this in the not too distant future as, presently, the A1200NG cannot replace a high end Amiga as software that requires an expanded Amiga will simply not work on it.
LikeLike
personally i prefer use an emulator on my pc. this 1200ng is basically an arm based emulator with some hardware parts. this 1200ng is alot money to me for what it is. i checked and it would cost me between 600-700 dollars canadian to have this shipped to canada with duty fees and a few things like the led and the drive ribbon. it makes no sense to me. theres not even a case or keyboard at this price and haveto assemble it myself. i can already play all the games i want on my emulator on my pc.
LikeLike
Hi, and thanks for commenting! The A1200NG is very handy if one already have a complete setup, but with a non-fuctioning motherboard. In other cases, the A600GS might be a better choice, as then you can just use a generic mouse and keyboard and you’re good to go. I’m very happy with the system so far, and even if it is emulation, it actually feels authentic when used with a Workbench 3.1 setup for example. Especially since the floppy drive works too. As you say, emulation on the PC does the job great, but I enjoy using my old case with this new product. 🙂
LikeLike
You mentioned the floppy drive works in Workbench. Does it work seelessly just like a real Amiga? Put a disk in an icon appears? Is there any way to boot from a floppy disk directly? Into a game f.ex.
Also can you utilise the floppy drive outside of an Amiga OS in the main frontend to make and write disk images to and from real floppy disks? This is something that would interest me a lot.
LikeLike
Hi! Thanks for commenting. 🙂 Yes, it works fine in Workbench. You can use it there to make ADF’s from your floppies or write them to disks. Also, if you make a plain Amiga 500 setup, it works like normal when you insert a disk. 🙂 I have not tried writing disk images outside one of the Amiga setups though, but with Workbench it works nicely. Hope this helps and have a great day!
LikeLike
[…] The Arrival of the A1200NG – Unboxing, Installation and Usage […]
LikeLike